What is not to love about these sweet little tiles of artwork that we made into pendants for necklaces and bracelets.
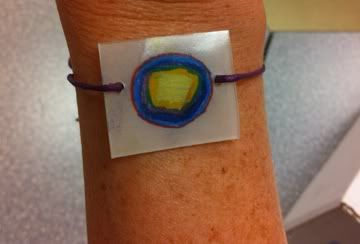
First, I have to mention that every now and then you have a student that on their own free will makes something for you (the teacher). A brother and sister made this bracelet for me and I happily have been wearing it all weekend! So sweet. Very special.

So, Shrinky Dinks pendants were not my original plan. I was going to use cardboard and other items but I got Shinky Dinks paper for my boys at home and thought, this is way more awesome. I have to do this instead and I am glad I did. Old and young had a great time Saturday at the OKCMOA creating these beautiful pendants. Of course the second best part was watching the entire process. Magic!
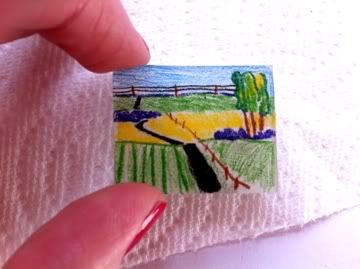
At home my boys and I started with making little tiles. Here are a few.


This is when I had the epiphany that these had to be made into pendants and that is exactly what I did.

This is the supply table. I talked about how artists and designers need a plan before beginning a project. We used scrap paper to draw our designs first. I pre-cut the Shinky Dink paper into little 2.5 inch by 2.5 inch squares using my Fiskers sliding blade paper cutter.
With a plan in mind students can now either trace by placing the Shrink paper over their designs or freehand it. They use color pencils to fill in their work. Now we use a regular hole punch. One punch for a pendant, two punches for a bracelet. They can trim their work slightly with scissors. Now they give the pieces to me to put in the oven.

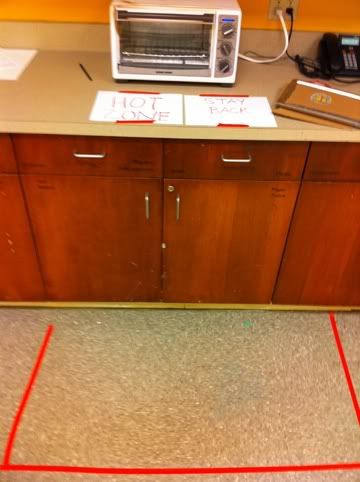
I used my toaster oven. I taped off an area on the floor around it and called it the Hot Zone. This way when I opened the oven I could tell the kids to keep behind the red line. I find a visual is always better than just saying, "keep back!" Keep back to where? This lets them know 100%. Behind the red line.
Inside the oven exciting things happened! Curling and wiggling our little pieces shrank before our very eyes!

Our pieces only took about 2 minutes at 350. They are pulled out when the plastic has completely uncurled and layed back flat.

These beauties are cooling off. They take about a minute to be completely cool to touch.
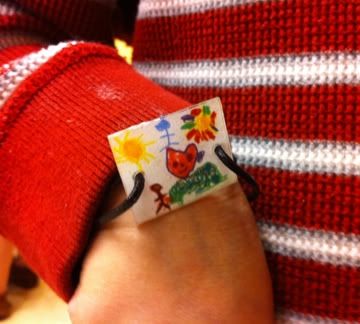
Now we use cord to thread our pendants, add a few beads and voila! SO MUCH FUN!


You will need:
-Shrinking Plastic (I used Shrinky Dinks Brand)
-colored pencils (Prismacolors work best for vibrant pieces)
-Hole Punch
-Scissors
-Cord
-Pony Beads
-Oven or toaster oven
**Always follow directions for the paper you buy.


9 comments:
How cute these are! What is the cost for a classroom of kids - about 28? I haven't used the material before even though I've known about it for a long time...
Hi Nancie,
Thanks for stopping by and commenting. I found the Shrinky Dinks Paper at Michael's Craft store. A package has 10 sheets of 8.5x11 paper. It was $5.99. They also had a more expensive Shrinky Dinks paper that is made for ink-jet printers, don't get that one.
I also found the cording at Michael's. They have a ton of colors and I think it ran around 2.99 for 27 feet.
Pony beads are inexpensive. You can even get them at Walmart.
I hope that falls within your budget. They kids really all freaked out over the science and magic part of it!
let me know if you have more questions!
Erin
These are Great! So cute and portable! A parent would love to wear their child's art! Mother's day gift or Father's day?????
Melissa, that is a great idea! Thanks for the comment. Hope you all have a wonderful creative week! :)
Erin
I love this idea! Shrinky Dinks are fabulous, and what a great idea to make pendants. Love it!
I bet the kids really went nuts for these. There is something about wearable art that kids just adore. I was thinking of bringing back Scarab necklaces as part of my egypt unit. They are always a hit.
Thank Mari! :)
Jessica, You are so right! At first I was a little afraid some of the boys wouldn't like it but they liked it just as much as the girls! OOh, Scarab necklaces. I bet those are cool! Hope you are great! :)
Erin
I love this idea. So cute. I absolutely loved doing shrinky dinks as a kid.
Hi Laura, thanks for stopping by! I loved doing these as a kid too! I actually was surprised to find the paper in our craft store. I had forgotten about these. So much fun.
:) Erin
Post a Comment