Sunday, October 31, 2010

Little Monsters

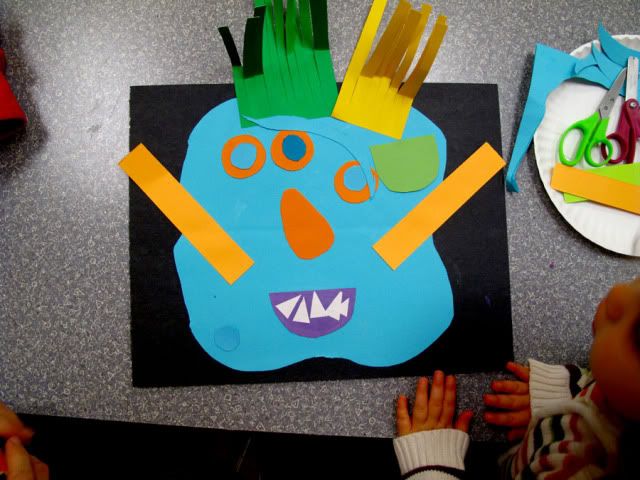
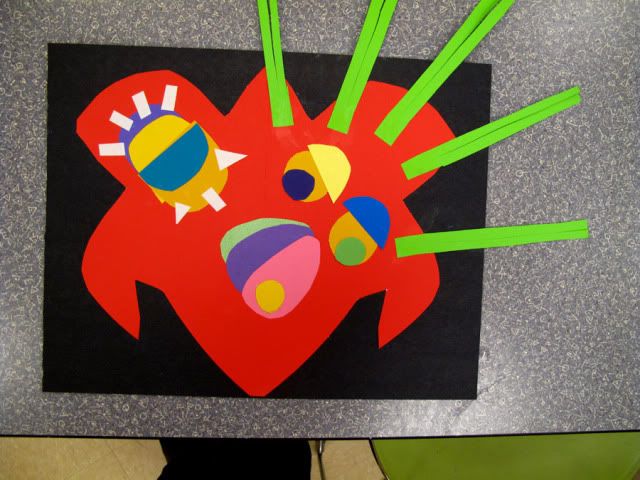
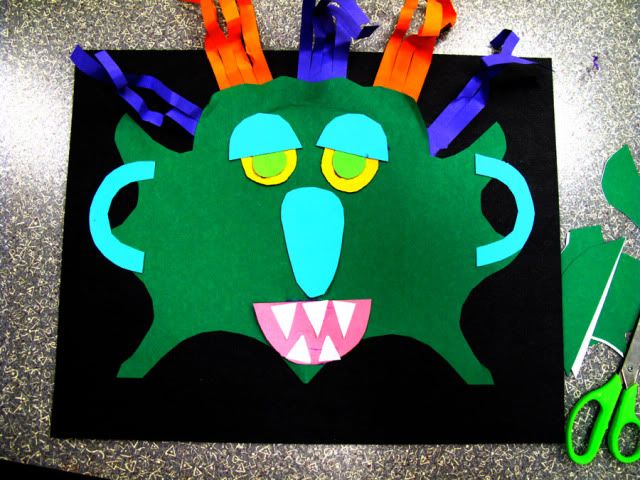
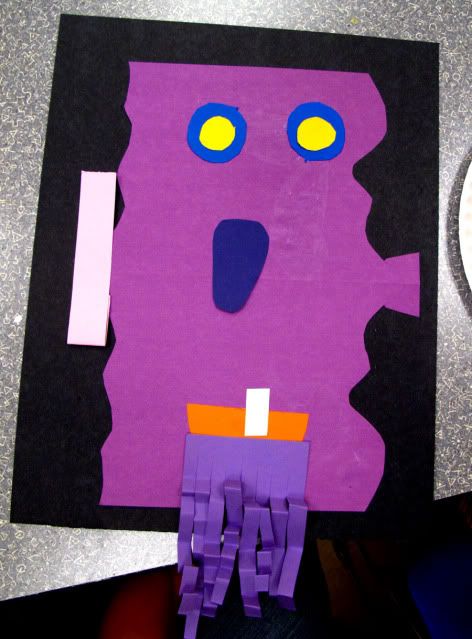
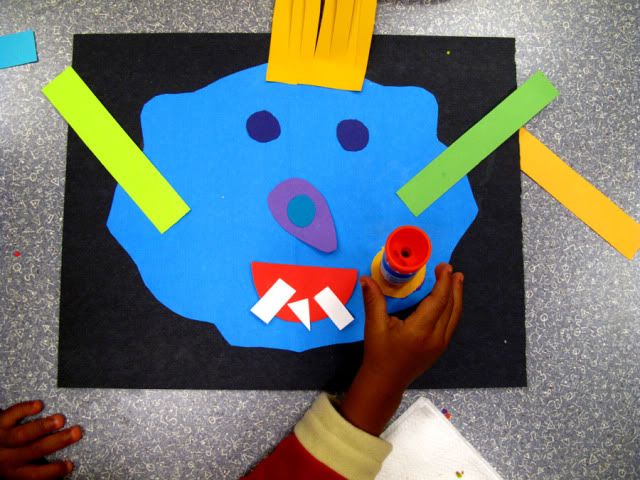
Happy Halloween! Monsters aren't just for Halloween, you can make these sweet guys anytime! A great group of children ages 15 months-3 years old joined me for a monster making class.
Photobucket

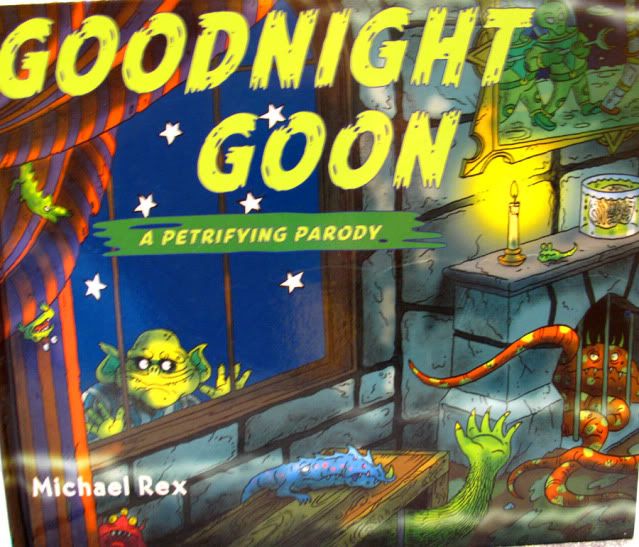
We read Goodnight Goon, talked about monsters and found spooky colors in the gallery. We found goon green, pumpkin orange and black cat.
Photobucket

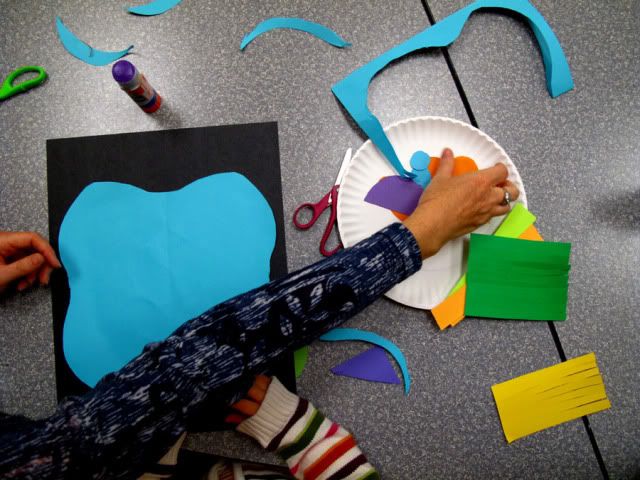
I forgot to take pictures of the assembly line, but it was pretty much set up like this. I pre-cut monster eyes, noses, mouths and teeth. I cut silly teeth (rectangles) and sharp teeth (triangles). I also pre-cut hair which the kids could bend, crunch or curl. **Older children could cut all of their own pieces.
Photobucket

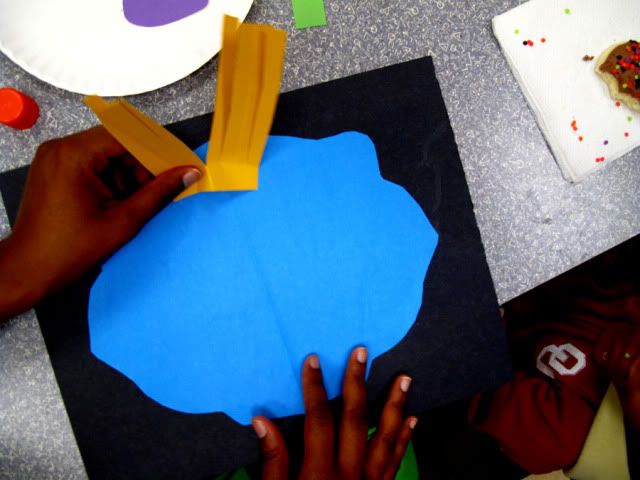
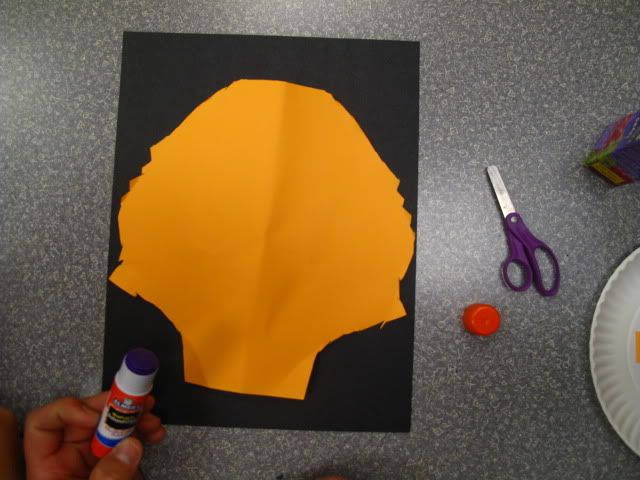
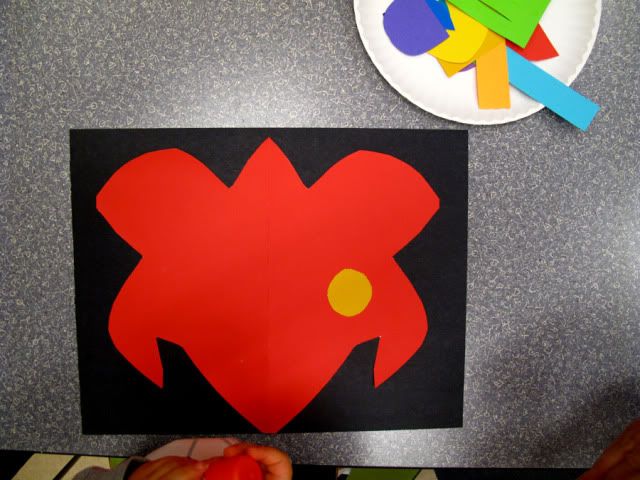
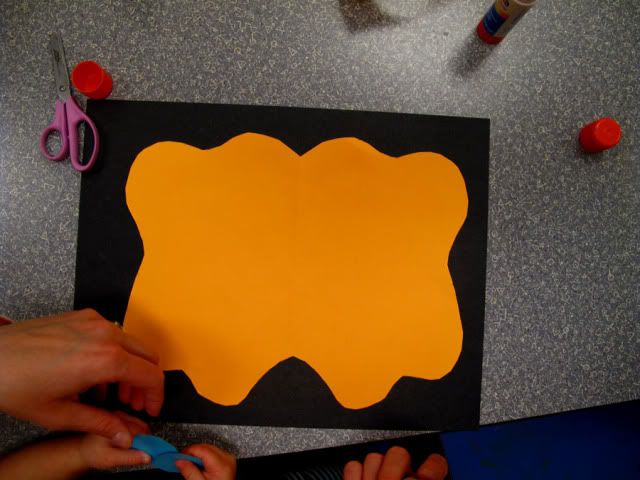
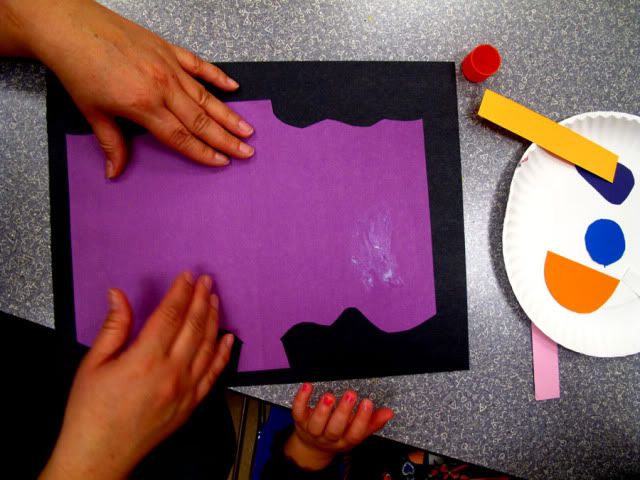
Everyone went through the line to pick their parts in a variety of colors. Monster bodies were from a piece of paper folded in half and artists and helpers were instructed to cut any shape, just not to cut the fold.

Monsters unfolded reveal a fun shape. Perfect!

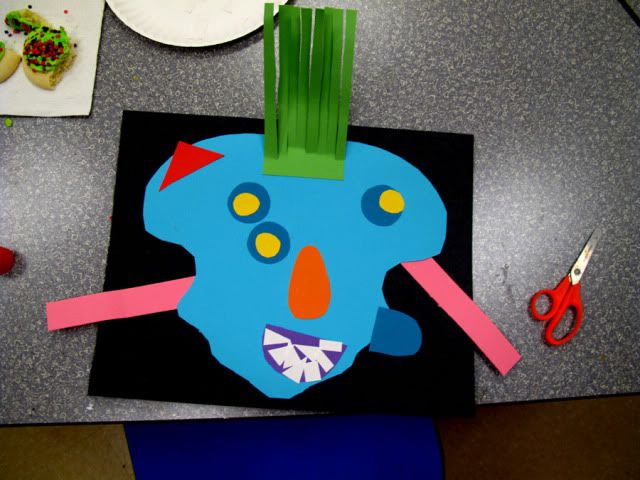
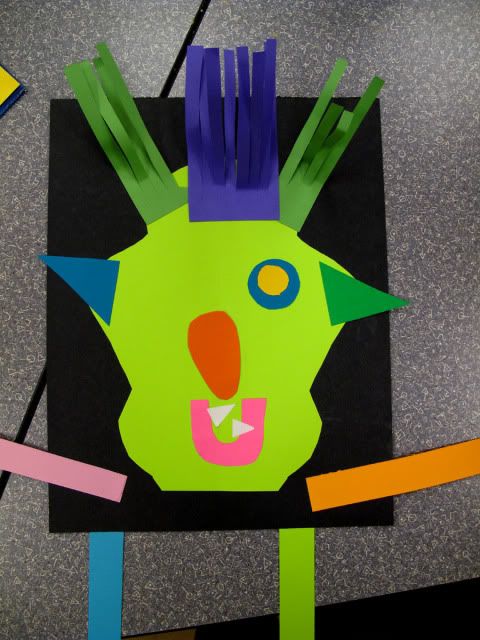
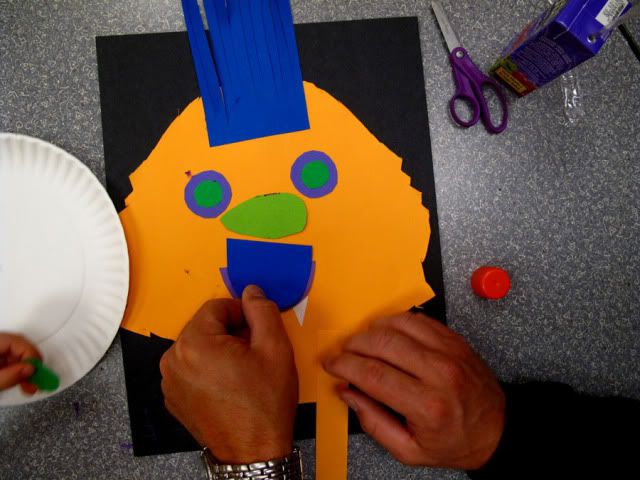
This is glued to a heavy piece of black paper. We used tagboard. From here kids used a gluestick to make their monster! They turned out very silly, scary and quite fun!
Photobucket

Photobucket

Photobucket

Photobucket

You will need:
-cardstock
-scissors
-gluestick
-black tagboard
Photobucket

Photobucket

Photobucket

Photobucket

Photobucket

Photobucket

Photobucket

Photobucket

Friday, October 29, 2010

Creative Cars


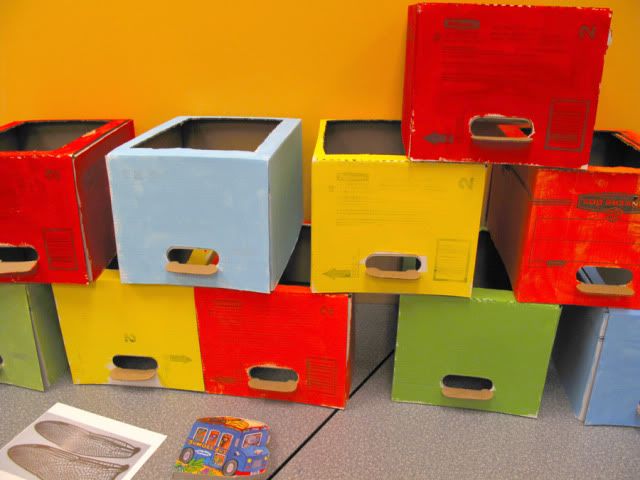
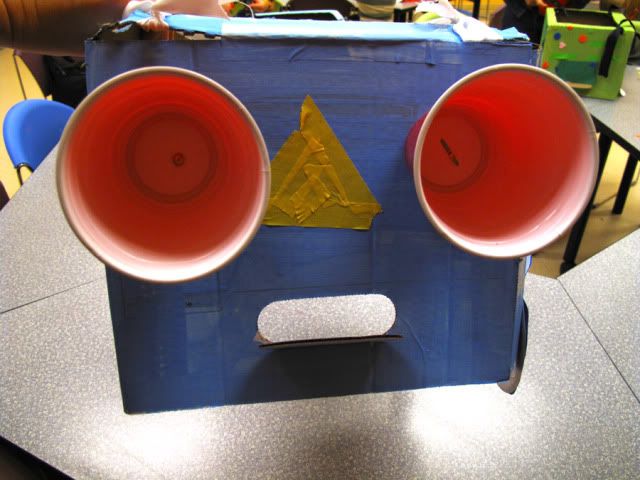
This was a really fun class I did at the OKCMOA for kids ages 3-5. We read a book, talked about the parts on a car and used the Jonathan Hils exhibition, INTERSECTION as our inspiration. In the classroom we had so much fun! ***note: This is a LOT of prepwork and is not typical. This class was for 10 kids. I think this is a great project for a moms with a few kids and if you're crazy enough to do this for more than 10 kiddos I'm pretty sure you earn sainthood. :)

Photobucket

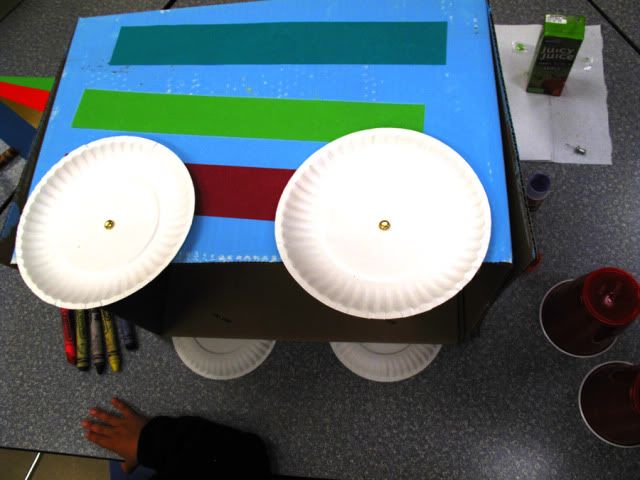
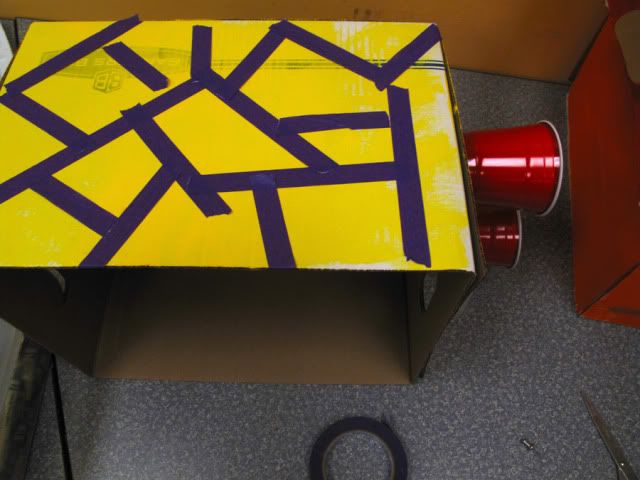
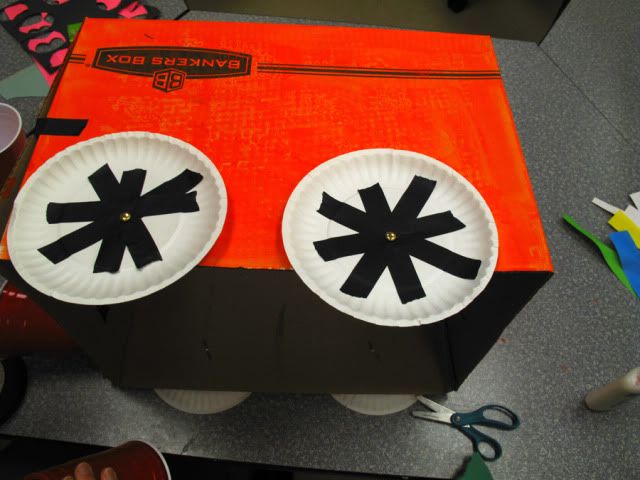
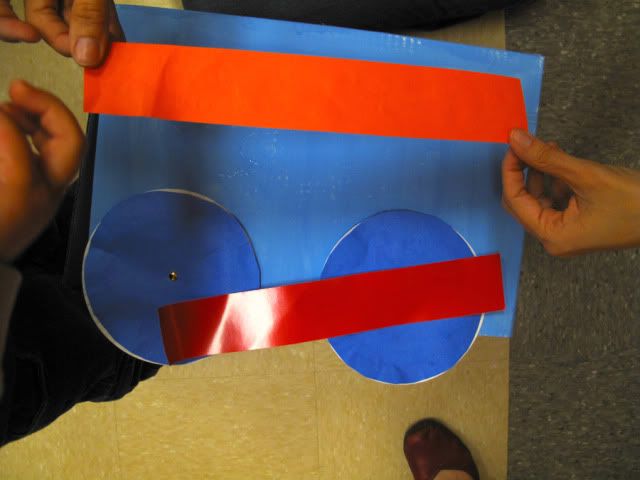
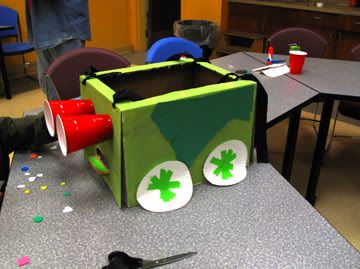
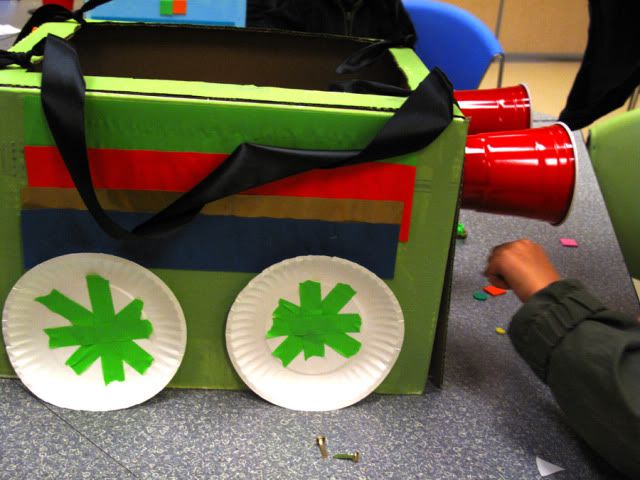
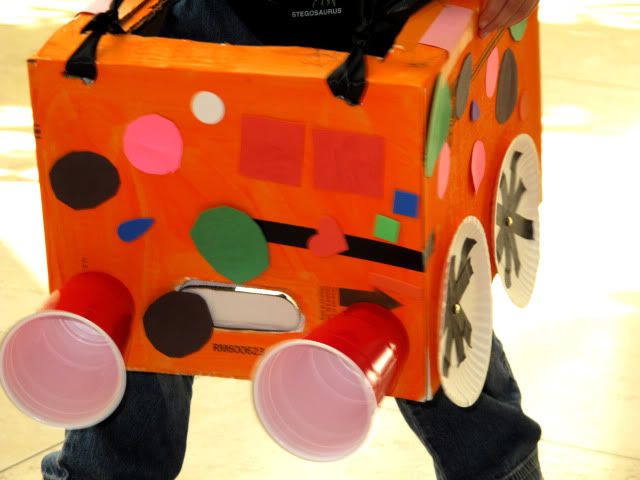
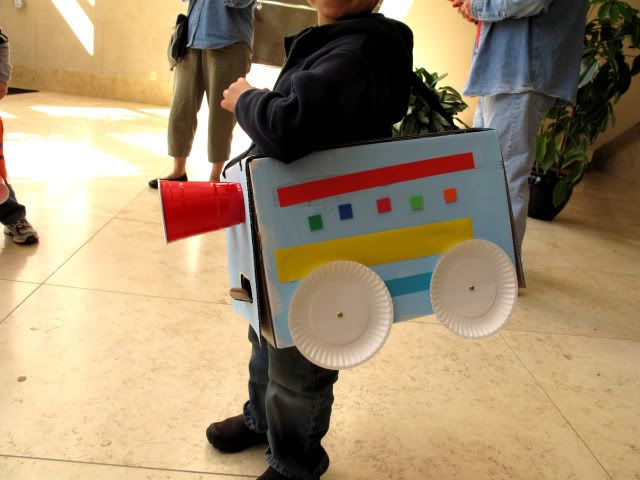
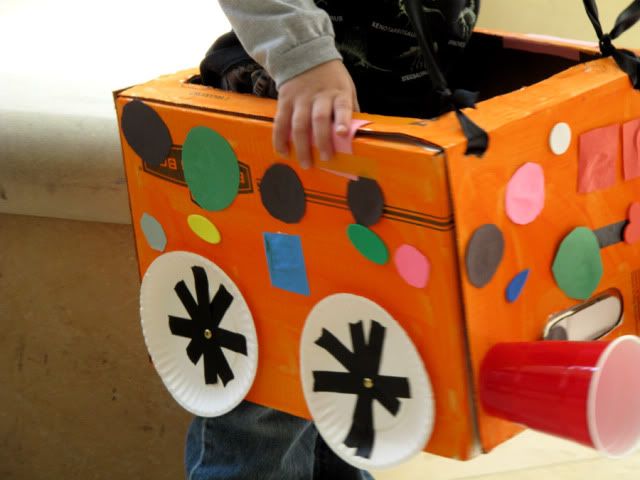
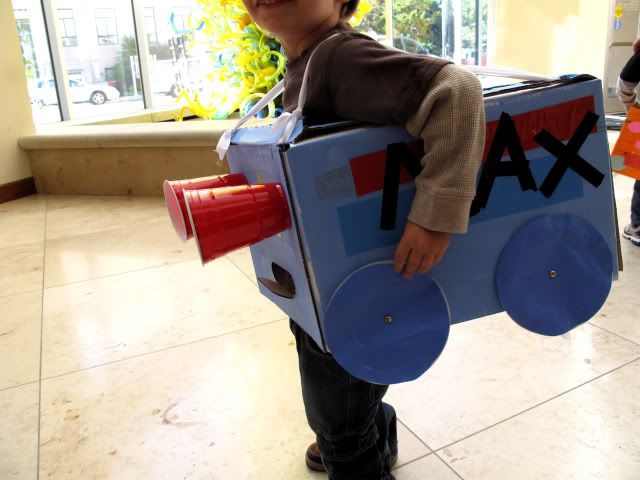
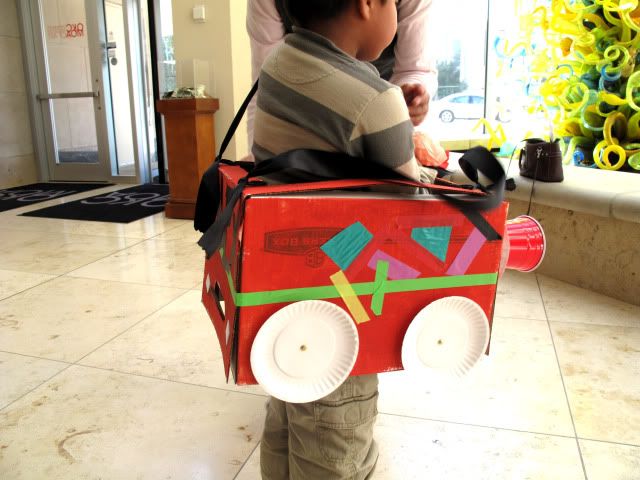
I prepped by painting banker boxes and cutting out an area on the bottom of the box leaving a 2 inch area around it to attach suspenders and to keep the box in it's shape. The kids chose a color and got to work. If you plan on painting allow this to be a two day project.

Photobucket

Photobucket

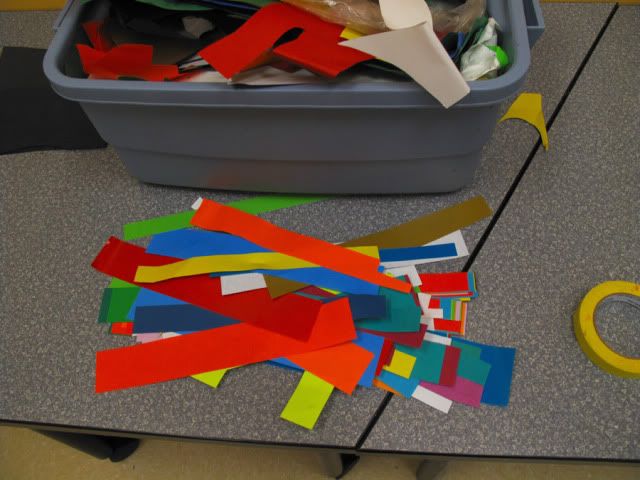
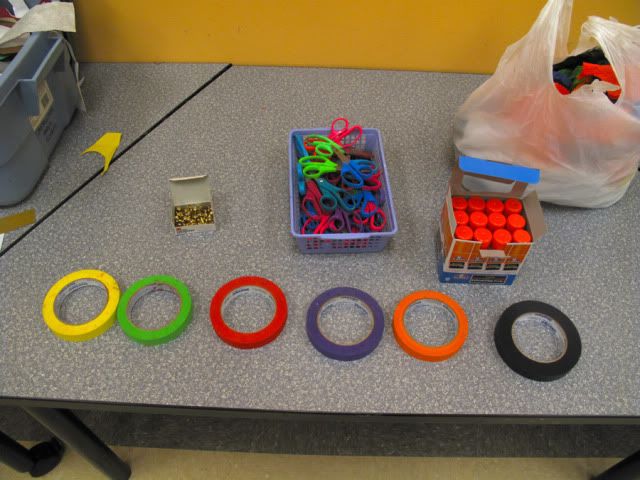
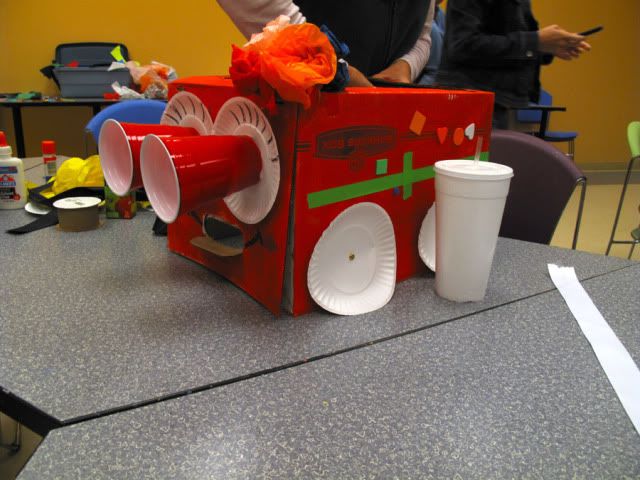
The material table included colored tape, paper, solo cups, paper plates and more to decorate our cars.

Photobucket

Photobucket

Photobucket

Photobucket

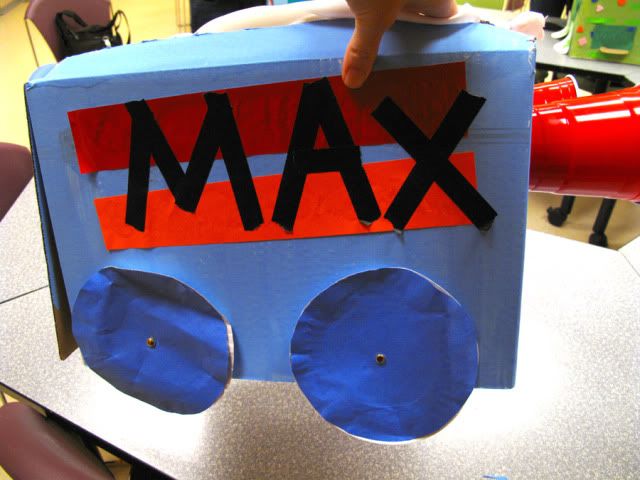
You can see we used paper plates and brads for wheels and solo cups attached with brads for headlights.

Photobucket

Photobucket

Photobucket

Photobucket

Photobucket

I cut 4 slots for ribbon on the boxes. We threaded ribbon to make suspenders for kids to wear their cars out of the classroom! Of course we had to have a car parade first!

You will need:
-a box (copy boxes are great. I bought a package of banker boxes at Walmart for 11 dollars)
-paint for car color (allow time to dry)
-paper plates
-brads
-solo cups
-glue sticks, school glue
-construction paper scraps
-tape
-scissors
-ribbon to make suspenders
-anything else you want to add!

Photobucket

Photobucket

Photobucket

Photobucket

Photobucket

Grouting Mosaics

Photobucket

Grout, grout, grout. I was so tired of grouting that I didn't take any good close up shots. Plus my husband took my boys and my good camera camping so I am left with a few cruddy iPhone pics.

I was working on a big scale so I laid out a tarp and got busy. In a coolwhip container I mixed up my SANDED tile grout. I used white but you can buy a variety of colors. Follow directions but usually I just add water a mix a batch at a time until it is like frosting. Let it sit for a few minutes to activate.

Photobucket

I wear GLOVES. It is a dirty business and if you are doing a lot it dries your hands terribly.

Photobucket

So, smoosh grout all over your piece. It will cover but that is okay. You want it to get in all the nooks and crannys.

I have a big bucket filled with water. You DO NOT want to do this in your sink!!! I get my sponge wet and squeeze most of the water out. I rub the top of the piece to remove excess grout and the majority of grout off the pieces. A white film will remain. You can keep wiping but it will remain until it is dry and cleaned off with windex. This bucket is a dump bucket. NEVER DUMP DOWN DRAIN! I have a nasty spot in my backyard I dump in. The big bits of dried grout get thrown away when it dries. All of your tools need to be cleaned in that same bucket.

Photobucket

When everything is wiped clean, set to dry for about 4 hours. Then you can lightly rub with an old tshirt to remove haze and use tools to remove any other unwanted grout. Now wait 24 hours! Then hit the tiles, beads etc with windex that is sprayed on paper towels to add shine. DO NOT spray your mosaic! These instructions are meant for small indoor pieces. If you want outdoor pieces that is another ballgame. Enjoy!

Photobucket

Thursday, October 21, 2010

1st Grade Mosaics in Progress

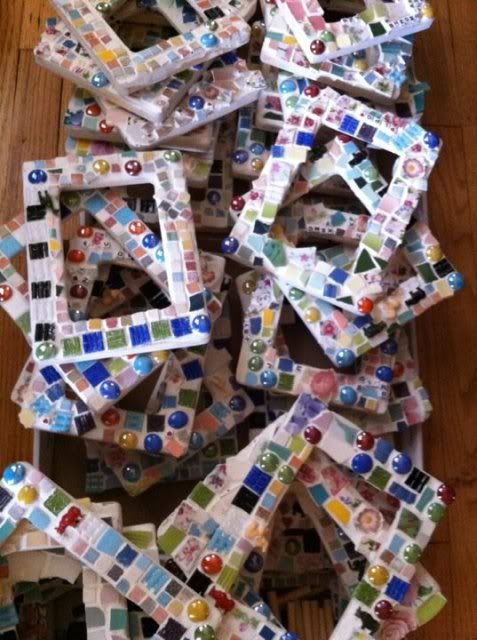
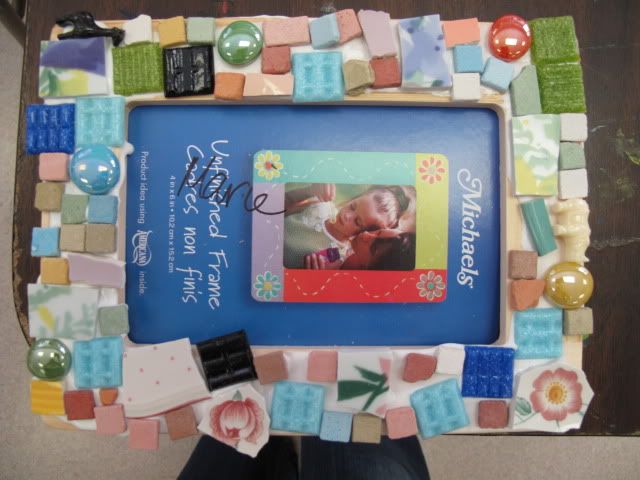
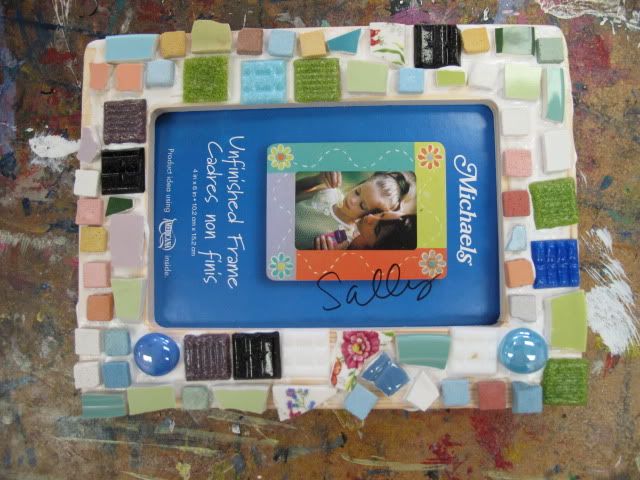
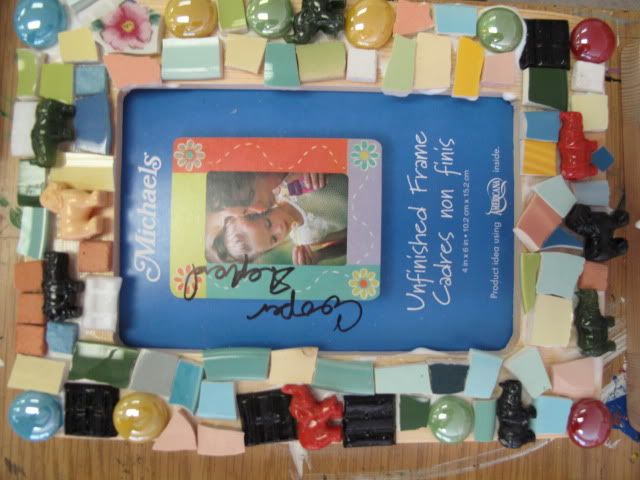
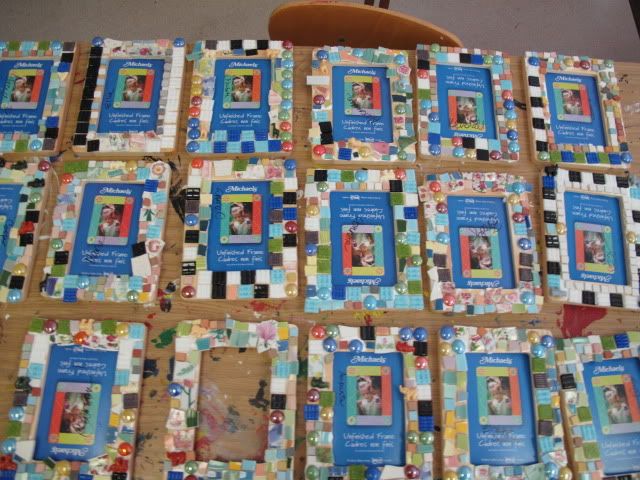
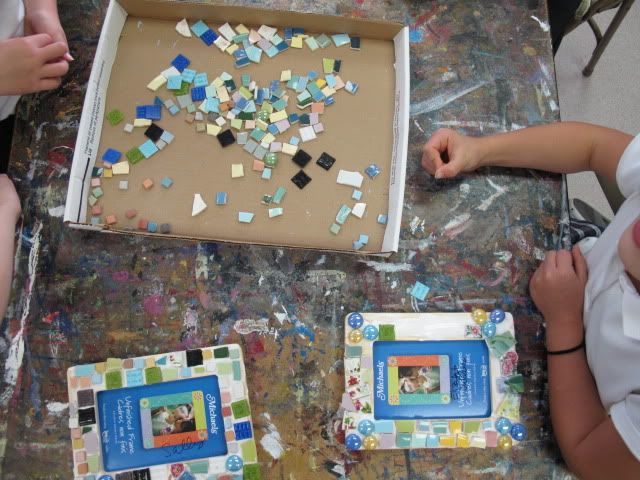
Along with the 1st grade class projects, I was asked to do the 1st grade individual projects. Yes, I have been very busy! We are making mosaic tile frames. Easy enough.

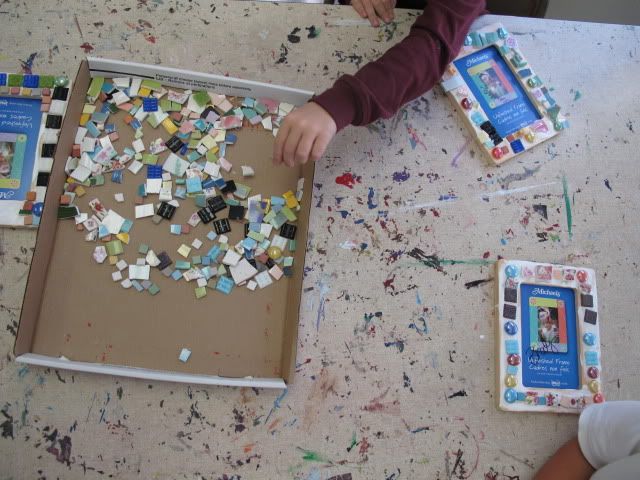
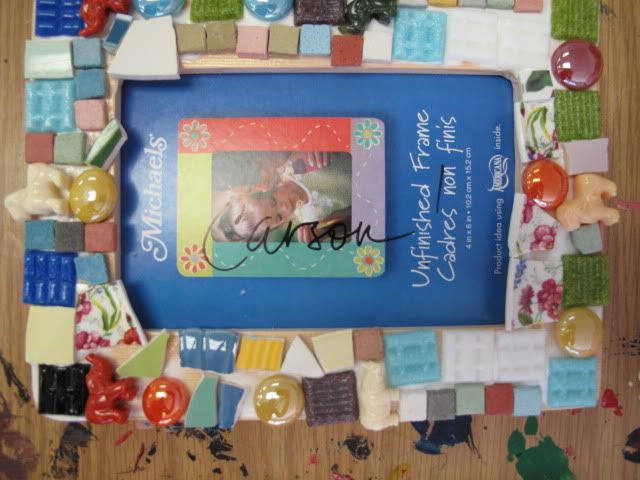
I admit, I am a bit of an arts and crafts hoarder. I had all of these china and glass pieces for the kids to use since I used to dapple in mosaic. I chose china pieces that were not real sharp. I also did not include any pieces of the stained glass tiles I have. I did use the vitreous glass tiles. They have blunt edges.

Photobucket

I put a variety of pieces in a cardboard lid on each table. (the artroom tables each seat 4 kids) The frames I bought at Michael's for 1.50 each. I wiped a thick layer of glue on the frames so the students just had to pick and lay the pieces on the glue. I use WELDBOND.
It is fume free and non-toxic. It will hold china and glass etc. to wood. I also found some neat little animal beads among my goods. I threw those in too along with some letter beads. I will take some close up shots this weekend.

Photobucket

I have 39 frames to grout this weekend! Will keep you posted! :)

Photobucket

Photobucket

Photobucket

Photobucket

Photobucket

You will need:
-substrate to tile, ie: frame
-WELDBOND
-mosaic tiles, china, beads, etc.

I will cover grouting next post! :)

Wednesday, October 20, 2010

It takes a Village

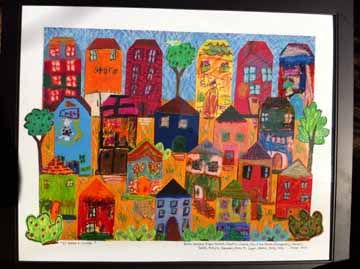
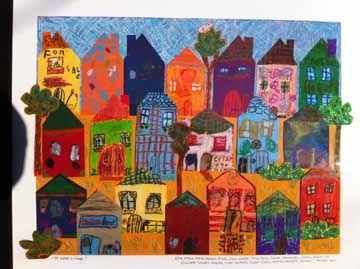
For my son's school auction I lead the 1st grade art project I titled "It takes a Village." Thinking of how true that statement is for the auction alone. All the parents, teachers, businesses that donated items and more to put this fund-raising shindig together. My small part was a few man hours to complete two class projects that happily sold for quite a bit of money! (Both projects went for over $2,000 dollars!) This is money the school will use for new computers and classroom upgrades. So wonderful.

I wish I had taken better pictures of these pieces. They really did turn out so beautiful.

Photobucket

Photobucket

You can do this on your own!
You will need:
-colored card stock
-oil pastels
-scissors
-acid free glue dots
-framing optional

This is a collaboration piece. I pre-cut different shaped buildings from card stock. Children were instructed to use oil pastels to decorate their building as a home, store, apartment, etc. They were told to think about details like doors, windows, landscaping, shingles, etc.
I collected all the buildings and created a childlike background. The background was done on two pieces of pastel paper and colored on top of with oil pastel. I cut and colored trees and shrubs. All of the pieces were put down with acid free glue dots. The finished piece was 30x24 matted and framed. I think this would be cute on a small scale as well!