Saturday, May 28, 2011

Picasso Collage

Picasso. You are probably thinking of his paintings. He created many wonderful collage pieces as well. This was the subject matter I shared for Drop-in Art at the OKCMOA a few weeks ago.

First we looked at a few books and examples of Picasso's work.

Photobucket

Work stations were set up with scissors, glue sticks, newsprint and various papers. (I found really great musical note scrapbook paper at Michaels.)

Our works focused on Guitar.

We began by filling our background with paper and then cut a guitar from a larger piece of paper. We glued it on top and added yarn strings, charcoal and other details. Simple and a lot of fun! This project is great to combine with music!

Photobucket

Photobucket

You will need:
-White posterboard or heavy paper to be the background
-Scissors
-Glue sticks
-Yarn
-Charcoal optional
-Scrap papers
-Larger paper for guitar.

Photobucket

Photobucket

Photobucket

Photobucket

Photobucket

Photobucket

Photobucket

Photobucket

Photobucket

Monday, May 23, 2011

Pop Art Handprints

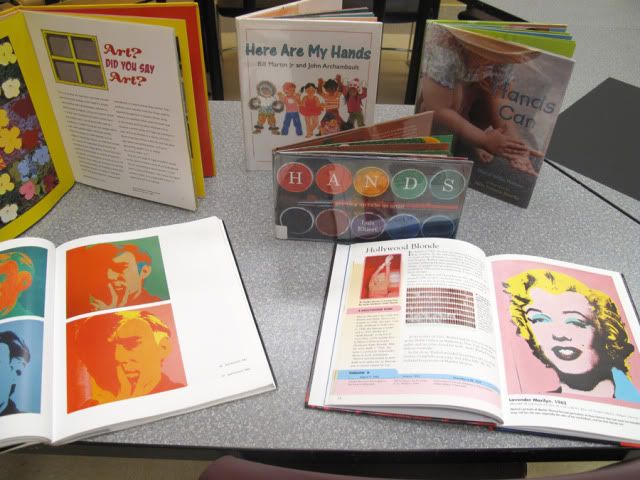
Little artists ages 15-36 months old gathered with me at the OKCMOA last weekend to explore pop art.

For our creations we focused on our hands. We looked at some books and went into the gallery.

Photobucket

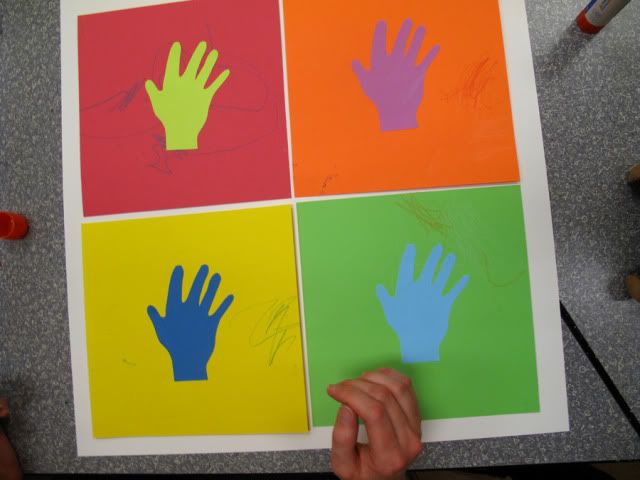
In the classroom everyone had 4 sheets of 8x8 colored cardstock (cut down from 8.5x11) in different colors. I found mine at Michael's Craft Store. We also had 4 smaller pieces of paper that were measured 4.25x5.5 (an 8.5 x 11 sheet of paper quartered.) I used the Spectra Fadeless art paper for the small pieces. The sizes can be altered for older children. You might need to allow for larger papers.

Photobucket

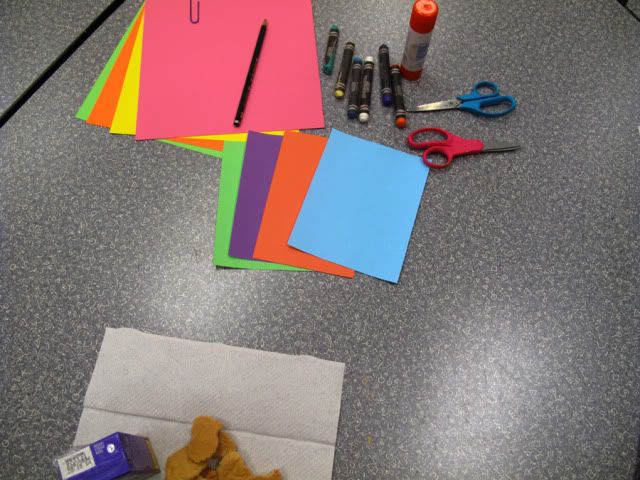
The smaller pieces of paper need to be different colors than your larger sheets.

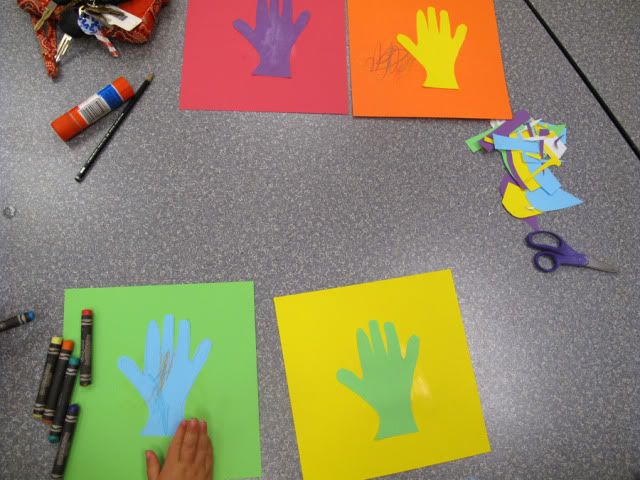
Our first step was to trace the little ones hands on one of the smaller pieces of paper. Stack all the small pieces together and cut the hand shape from the traced hand, giving you four hands that are exactly the same.

Photobucket

Photobucket

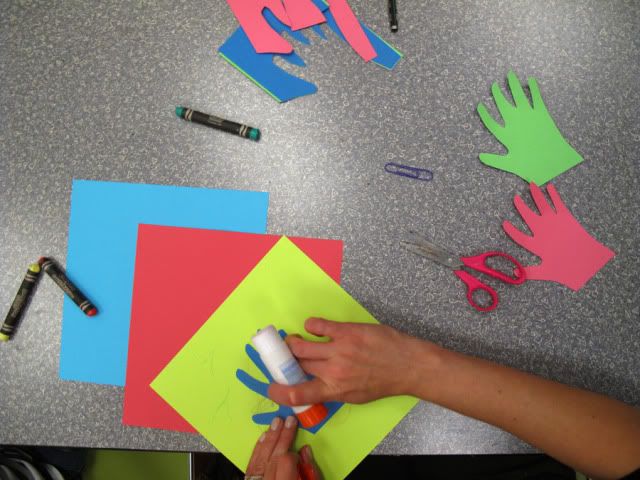
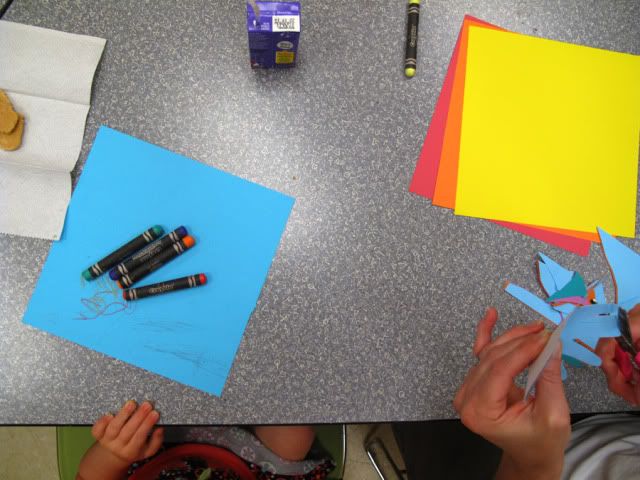
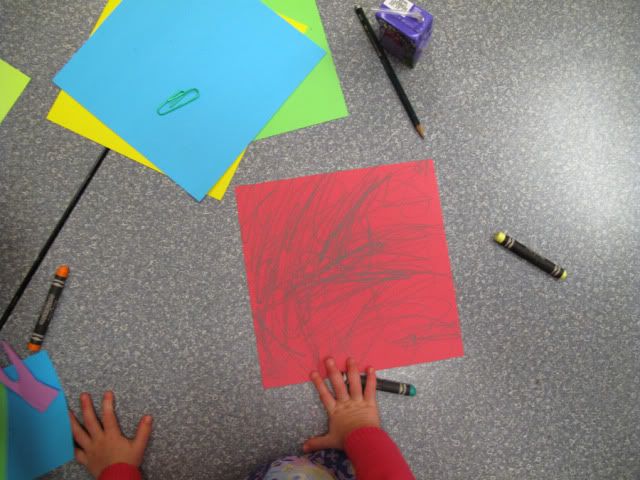
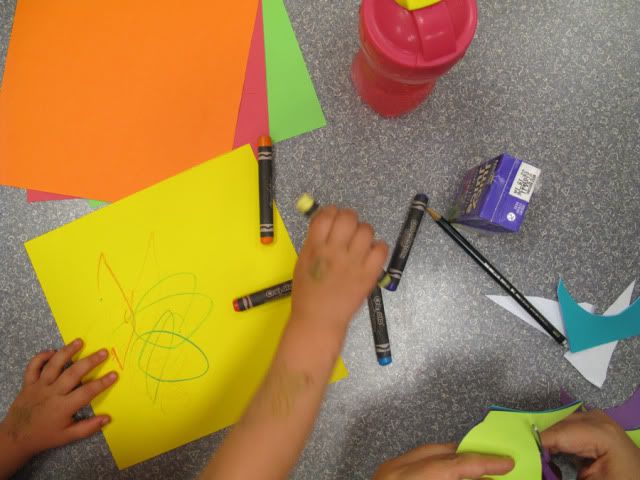
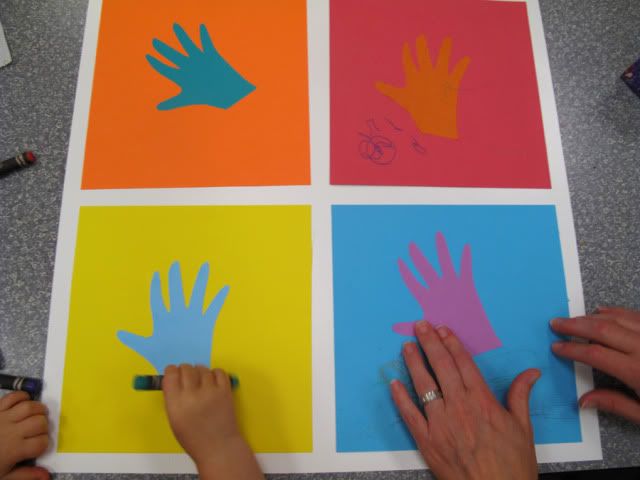
We used Crayola construction paper crayons to color our large sheets of paper.

Photobucket

Photobucket

We use a glue stick to glue our paper hands to the center of our larger 8x8 squares.

Photobucket

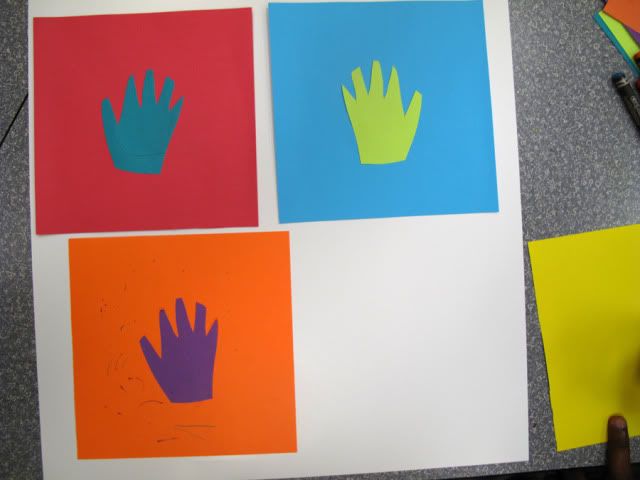
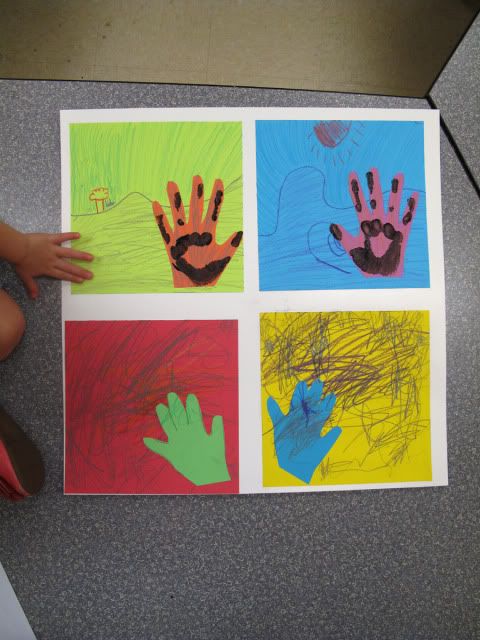
Now I pass out our sheets of 19x19 poster board. We arrange and glue each of the 8x8 squares onto it.

Photobucket

Photobucket

Photobucket

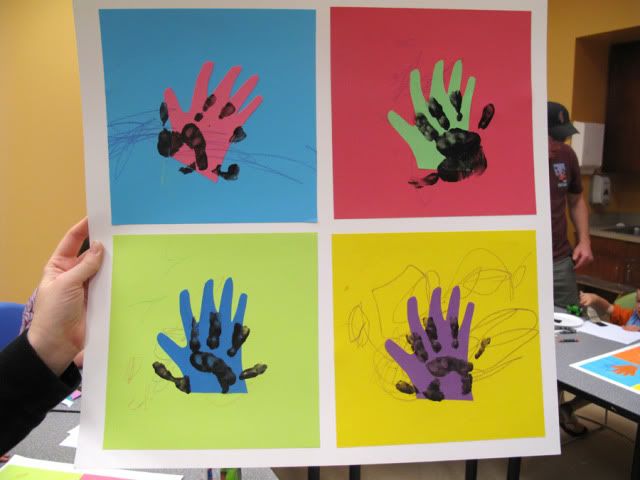
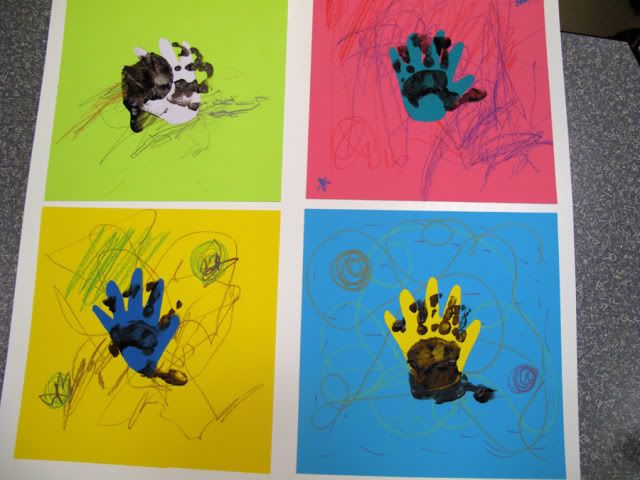
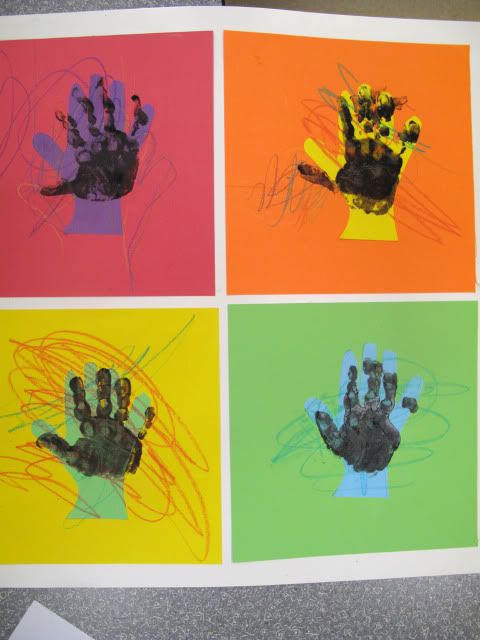
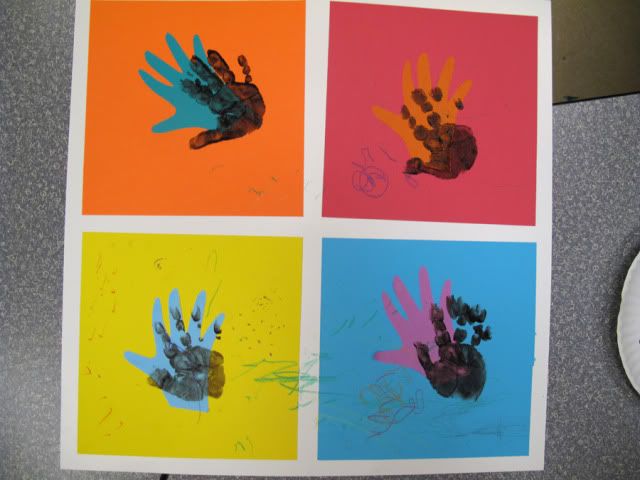
To finish we use a large flat paint brush to cover the palm of the hand with black tempera paint. We keep our hands very flat and stamp it on top of our cut hands. If it doesn't match up exactly, even better! Stamp your hands 4 times and you are finished!

Photobucket

Photobucket

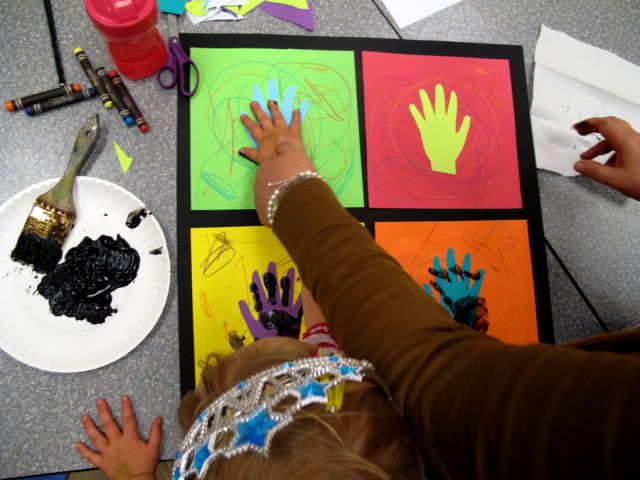
We made them with white poster board and black poster board. They are both different looks and can be done either way! Enjoy!

You will need:
-Cardstock in 4 colors
-Paper in 4 different colors
-Black paint
-Crayola construction paper crayons
-Scissors
-Glue
-White or black poster board

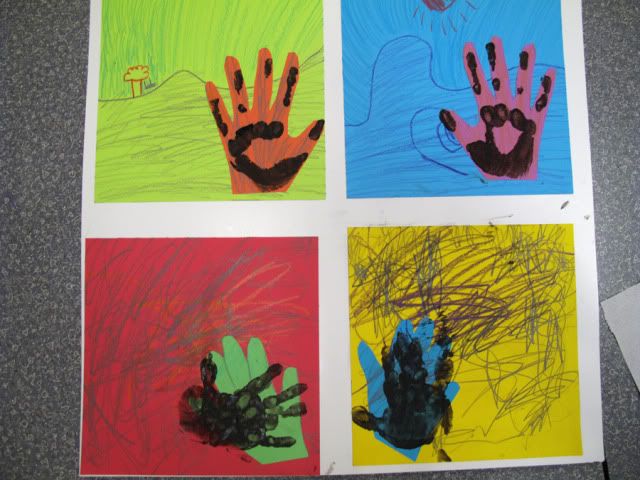
Here were some of the finished pieces!

Photobucket

Photobucket

Photobucket

Photobucket

Photobucket

Photobucket

Saturday, May 21, 2011

Pet Portraits

Little artists joined me last weekend at the OKCMOA for Pet Portrait fun. We explored the works of George Rodrigue and got busy.

Using Rodrigue as our inspiration allowed the kids to have fun with their works instead of worrying and stressing about making it look exactly like their own pet.

To begin I had the children lightly draw their pet with pencil. We draw BIG and draw the front of our animals. I advised to keep it simple, details could be added later.

Photobucket

Next the students are allowed to choose one color of paint plus black and white (to shade and tint).

They begin filling in their pets and are encouraged to mix the paints to highlight one side and shade the other. Leave any white spots white.

Photobucket

They use a hairdryer to dry their work before outlining the pet with black paint. Now they can also add details.

Photobucket

The work need to be dry again before creating the background.

We broke the background into three parts. The bottom, left and right side. Here is where color comes in. They can use any color except the color of their pet. We use line and pattern to break up the three areas. So much fun.

You will need:
-Student grade watercolor paper
-Tempera paint
-Brushes
-Paint palette
-Wash bowl
-Pencils and erasers
-Hairdryer if you need to speed drying time

Photobucket

Photobucket

Photobucket

Photobucket

Photobucket

Photobucket

Tuesday, May 17, 2011

In Georgia's Garden

Creative little ones ages 2-5 joined me today at the OKCMOA to create bright beautiful flowers inspired by Georgia O'Keeffe.

First we looked at some examples from the books I brought with me.

Photobucket

We started by cutting one BIG flower and glued it down on white paper.

Photobucket

Cut or tear details like leaves and glue them down. We cut one more smaller flower and place it in the center.

Photobucket

Photobucket

Next crumple small bits of tissue paper and glue to the center of the flower. Add more details with crayons, torn or cut paper to make it special!

Photobucket

Finish by gluing the entire piece on top of a larger piece of construction paper to create a colorful mat.

You will need:
-White paper
-Construction paper (we used Spectra Fadeless art paper)
-Scrap paper
-Tissue paper
-Scissors
-Glue
-Crayons

Here are some of our creations!

Photobucket

Photobucket

Photobucket

Photobucket

Photobucket

Photobucket

Photobucket

Photobucket

Photobucket