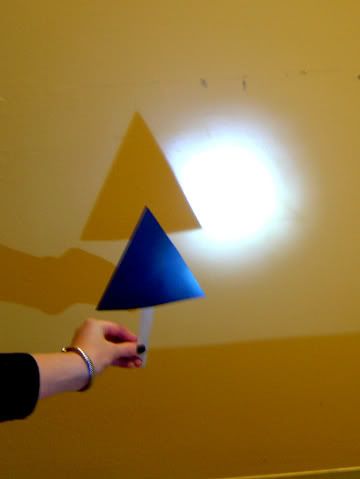
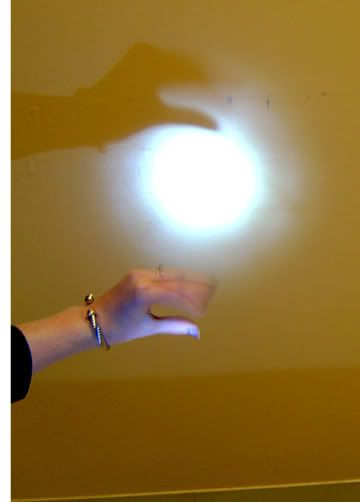
A small group of toddlers ages 15-36 months joined me for a class about light in art. I began the class by turning off the lights! I turned on a flashlight and we talked about different light sources. I shined the flashlight around the room and then put the light on a chair to throw the beam of light onto a wall. Here we cast shadows on to the wall. I began with some simple shapes and then gave each child a chance to cast their own shadow/hand puppet on the wall.
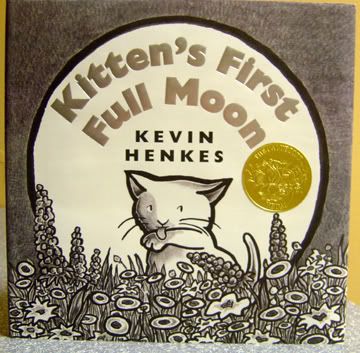
We read Kitten's First Full Moon by Kevin Henkes.
We lined up to visit the galleries. This was my last class to lead through the Jason Peters exhibit and I have to say, I am a little sad about that. It was a very exciting and fresh exhibit that I think everyone at the Museum got a little attached to. It leaves this Sunday so if you are local, you still have time to see it!
I lead the children and their parents through the exhibit and we talked about Peter's pieces, the use of light, darkness and how we could relate that to our own project.
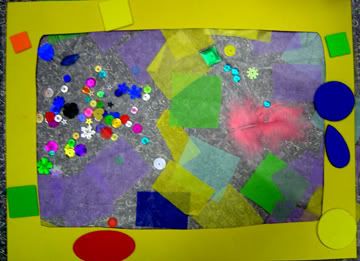
We made items to hang in the window and catch the sunlight. I have done this project before and the kids love it. Since my classes are enrolled in individually, I get a new group of kiddos who may or may not have done another class like this before.
First I had all the contact paper cut to size. I placed the first piece sticky side up taped to the table with little dishes of sequins, a feather and cut pieces of tissue paper ready to go.
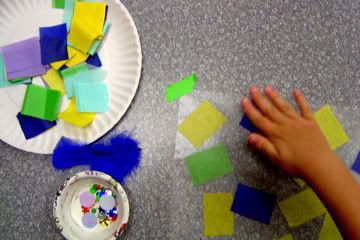
It is fun to me to watch how the kids go about putting something together. Some go right for the tissue paper, others go for sparkly sequins. Some pick through and stick things on slowly, some look away and place items on without even watching! I love it all. Using these small items and placing them down is a great exercise for building fine motor skills.
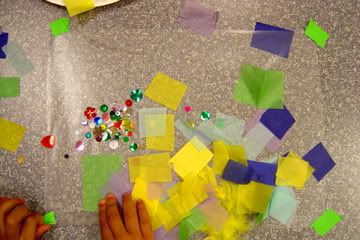
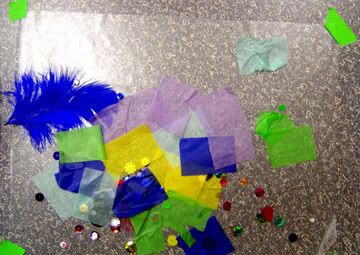
When the children were finished adding pieces, we placed another piece of contact paper over the top. Then we glued a pre-cut piece of construction paper over the top to frame our pieces. We decorated the frames with foam shapes and called it a day!
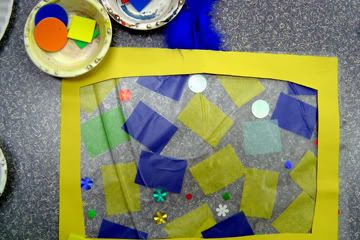
You will need:
-contact paper
-tissue paper
-sequins
-construction paper
-gluestick
-foam shapes
Positive and Negative Space using cutouts
FOR TEENS!
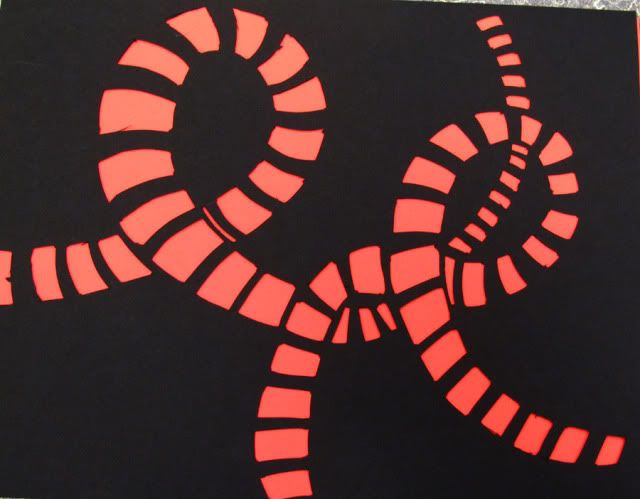
For much older kids I wanted to share another Peter's inspired project that involves the use of positive and negative space. I almost didn't include this because it is for older children(x-acto knife involved!) but in saying goodbye to Peter's I thought I'd throw it in because it was so much fun.
I presented this project for teachers at the OKCMOA's Educators' Evening. The OKCMOA offers a lot of exciting opportunities for educators and I encourage you to call and look into your own local museums to see what they can offer you.
This fun filled evening included networking, food, power point presentation, gallery walk and hands on lesson plan ideas. I presented one of the lesson plans and talked about the use of positive and negative space using Peter's as the focus. We looked at his bucket sculptures and brought them to life on paper by drawing and then cutting space away.
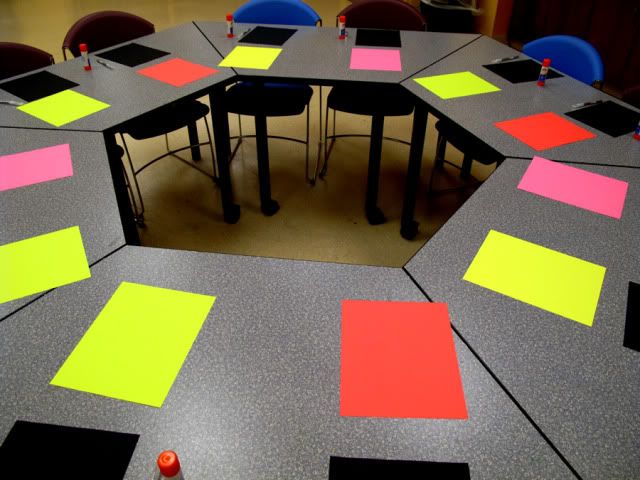
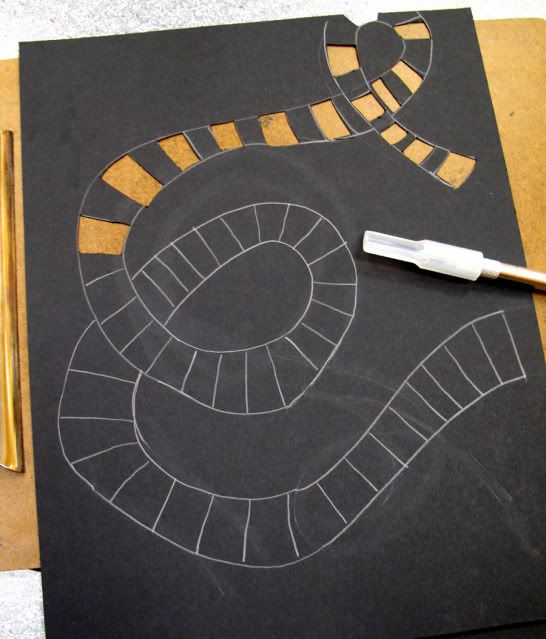
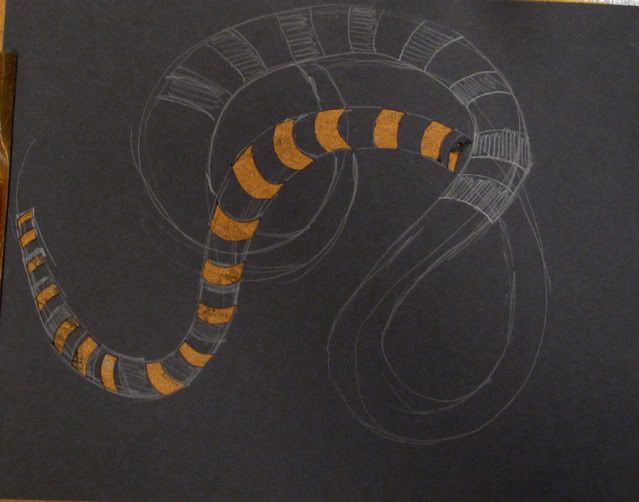
We began by drawing two organic and flowing parallel lines around our black paper. Then we used the area between those lines to lightly draw our rectangle shapes (positive space). We used an x-acto to remove those rectangles leaving some paper between each rectangle. The black piece of paper represented the negative space (darkness) or the space that is around the sculpture. The neon paper glued behind the black paper represents the positive space, in this case the sculpture. I should mention here that your piece will actually be in reverse since you glue the pencil drawing side down.
The teachers from a variety of backgrounds had a good time making their own piece before moving on to a second lesson plan that was about creating a Chihuly style bowl.
You will need:
-black paper
-neon paper
-pencil
-x-acto
-glue stick
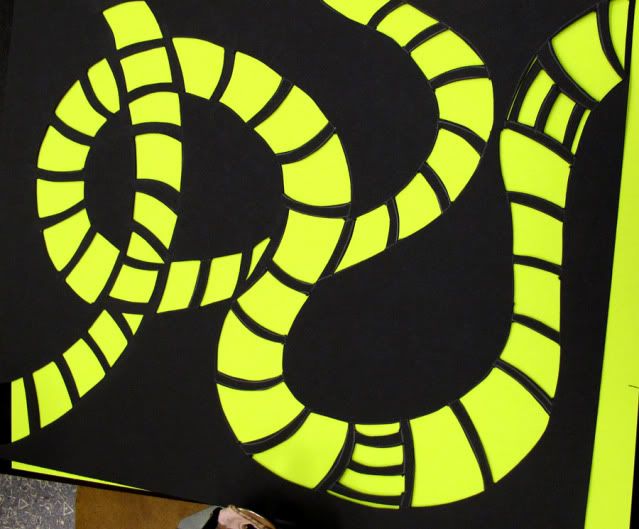
Goodbye Jason Peters! You are an inspiration!


2 comments:
I love this. I have worked as a professional artist but never found the correlation on how to actually incorporation it into the curriculum for children in this manner on so many levels! I think this is fabulous! Thank you so much for "throwing in" the teens too. Art progresses and grows as children do.
Great post.
Barbra, thank you so very much! While I tend to focus on toddlers I really hope to get the chance to share my love of art with all ages. Thanks for stopping by and leaving me such a gracious comment!
Erin
Post a Comment