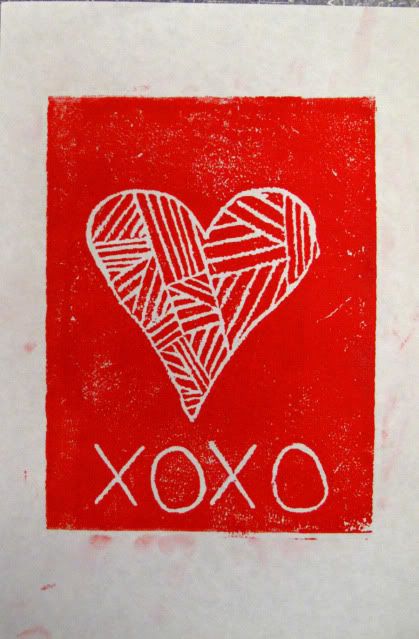
What a printing good time we had at the OKCMOA yesterday. I took several printmaking courses in college and although serigraphy was my favorite, this is much easier!
I washed the brayers from my earlier toddler class and had them ready for a fun printmaking afternoon at Drop in Art. It was a busy day with over 50 people coming through. At one point I was so busy I couldn't stop to make a tally! That is GOOD thing! As people came in the door I got them set up with foam and a pencil. I explained that we would draw our design on the foam pressing firmly with our pencil.
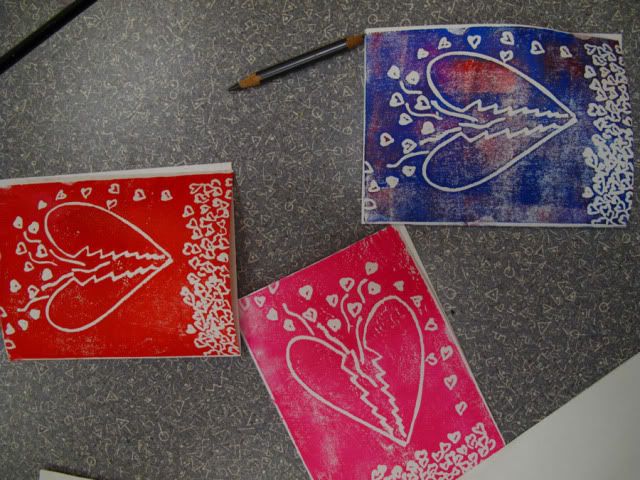
I wrote a few reminders on the board, the biggest one being being that you think in REVERSE! This is most important with any writing. They got busy right away- some making Valentines, others making whatever they wanted to draw.
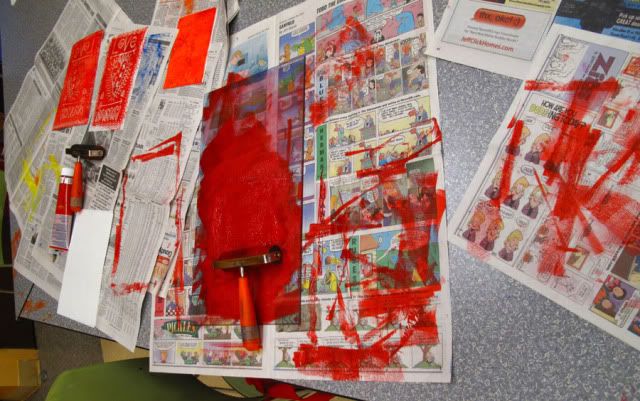
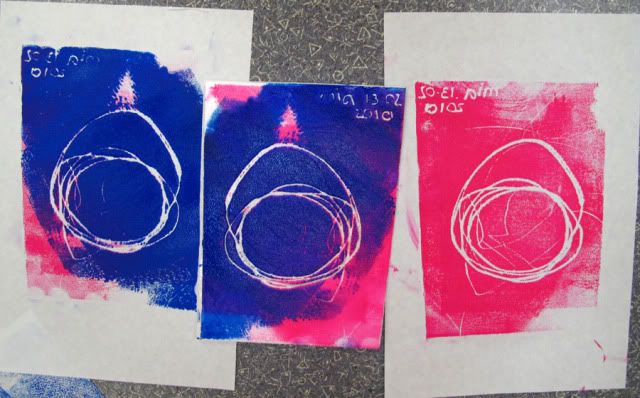
I had printing stations set up with different colors of water soluable inks, plexi, and brayers. I put this all on a layer of newspaper for easy cleanup. For cost, I squeezed out the ink...I was afraid the little ones would use too much. This worked out fine. We talked about signing our print editions (ex: if we made 5 prints our first print would be 1/5-then 2/5 and so on) and where the title, signature and edition goes. This info goes in the white space below your print. Typically for printmaking, the edition on left, title in middle and signature on right.
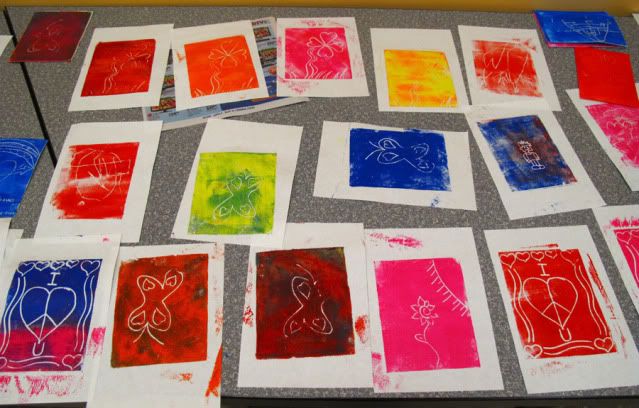
Steps:
1. Draw on foam (remember design will print in reverse!)
2. Work ink with brayer on plexi to get a smooth inking surface. I apply a small amount of ink in a horizontal line a little wider than the brayer.
3. Roll ink on foam design
4. Lay paper on foam and PRESS PRESS PRESS! I showed the kids how to rub all over their designs to get full coverage.
5. Carefully peel and VOILA! This part is magical. They really were amazed!
6. Re-ink and go again!
Kids and adults had a blast!
You will need:
-foam
-brayer
-plexiglass-or other smooth surface you can roll ink on
-drawing paper
-ink (can use tempera paints, but I prefer the ink)
-imagination!
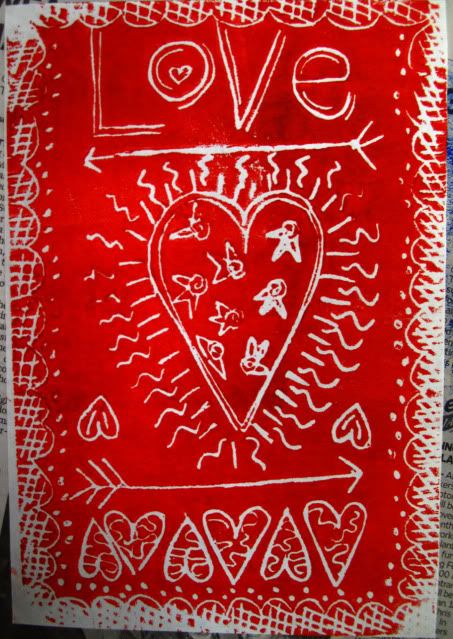
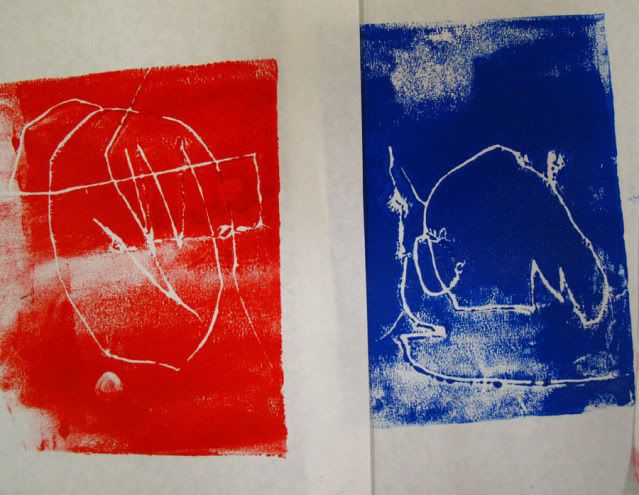
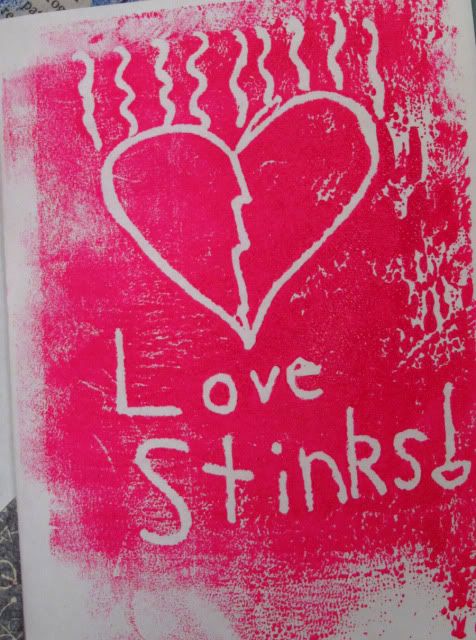
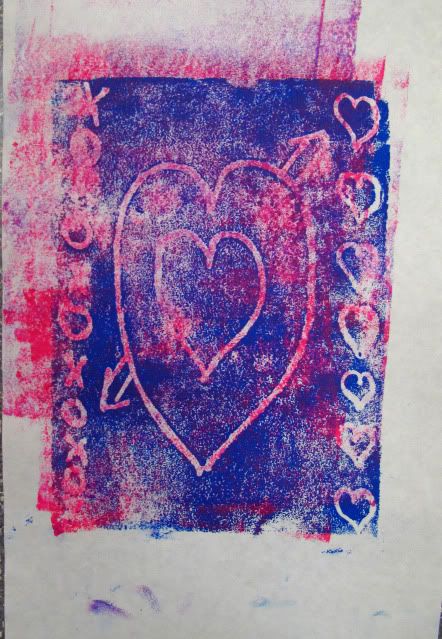
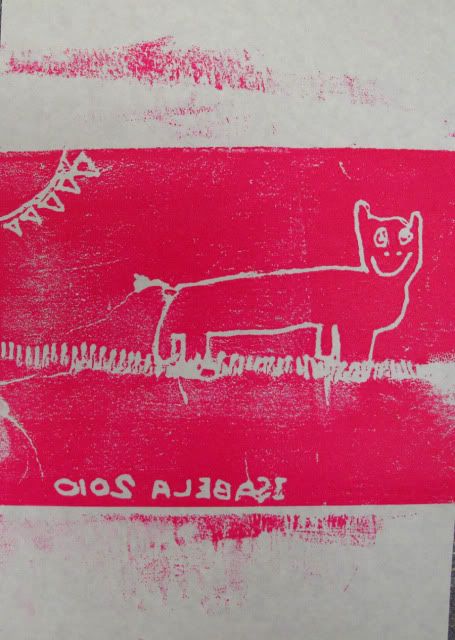
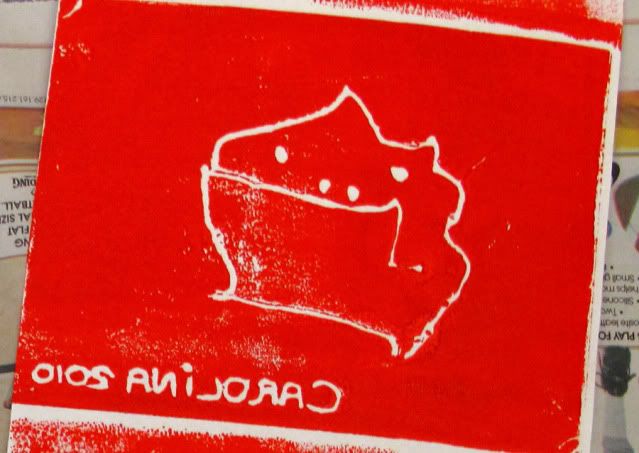
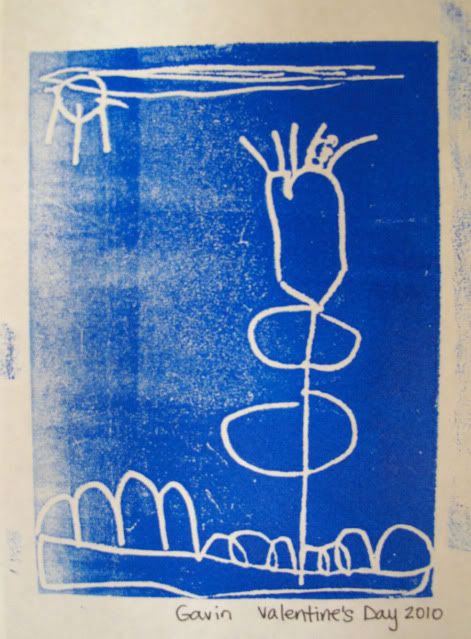
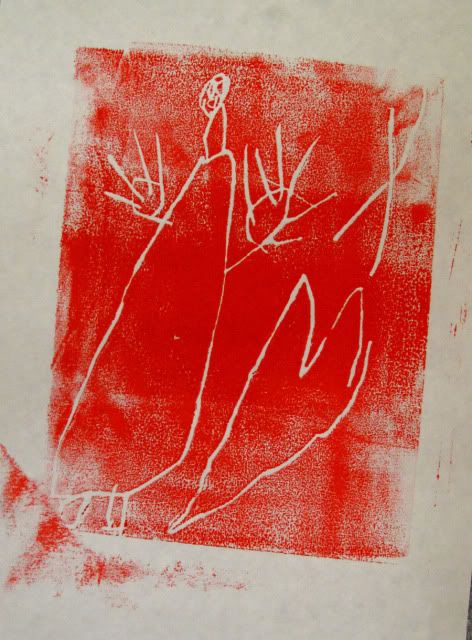
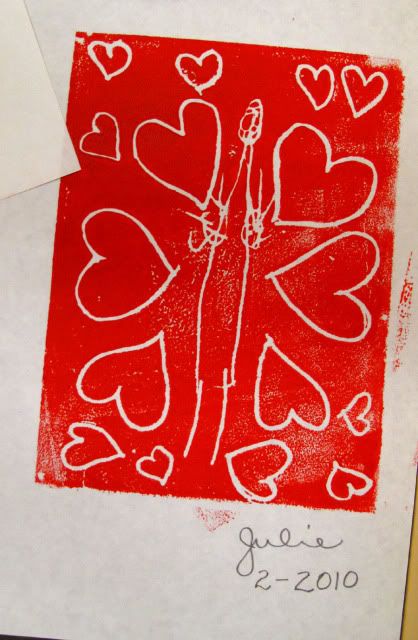
Look at some of the incredible prints!


5 comments:
That is a really cool technique. Thanks for sharing. Those do look really great!
Thanks Kristen! The kids and parents both enjoyed this...I kept having adults ask, can I do this too!? :)
Erin
I love the "Love Stinks" one. :)
Hi Erin!
I love your blog! I'm an art teacher in MA, and I'm starting some toddler art classes in my area. Your website is a terrific resource for me. I'll be posting a link from my own blog at www.redshoearts.com
Thanks for all the inspiration!
-Aimee
Wow Erin! You are SOOOO AWESOME! I love these! You are the rockingist of all rocking artists in the world!!! :D xoxoxo
Post a Comment