 Today at the OKCMOA I shared two kinds of sculptures. We made relief and 3-D sculptures. They are turned out wonderful! This is a project your children will love and an idea you can incorporate with different school subjects as well. Not only is it fun for fossils and Science, but many sculpture artists use molds to create their works and this is an easy way for children to learn about how that is done.
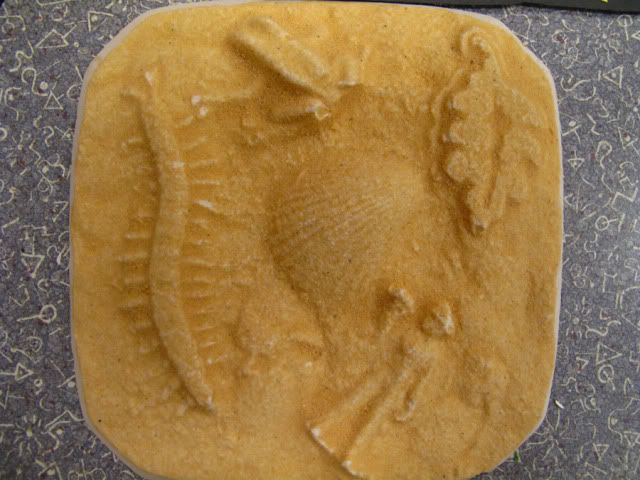
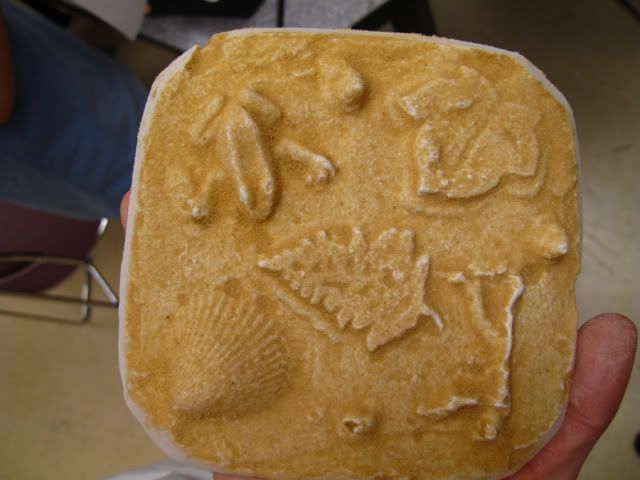
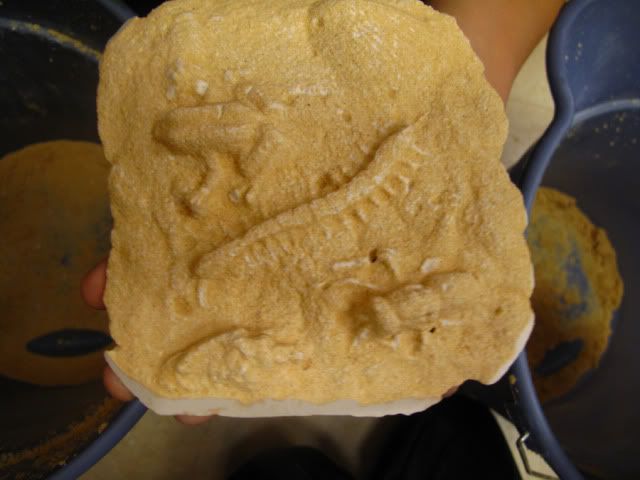
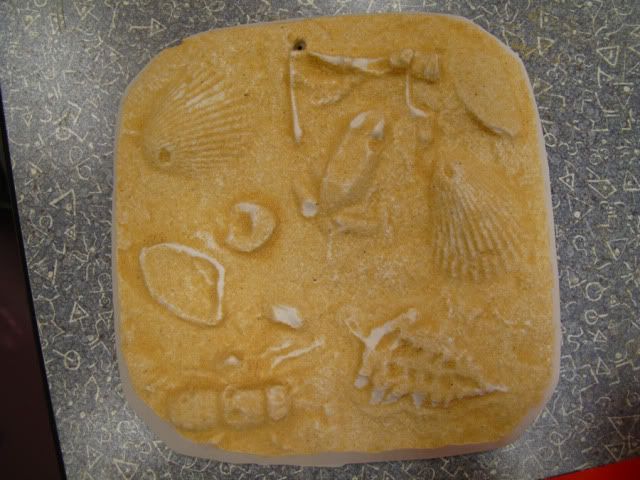
First we started with the relief sculptures. We accomplished these by sand casting, or making molds in sand.
First we start with damp sand in a dish. The sand needs to be a little wet so it will take the imprint of the object.
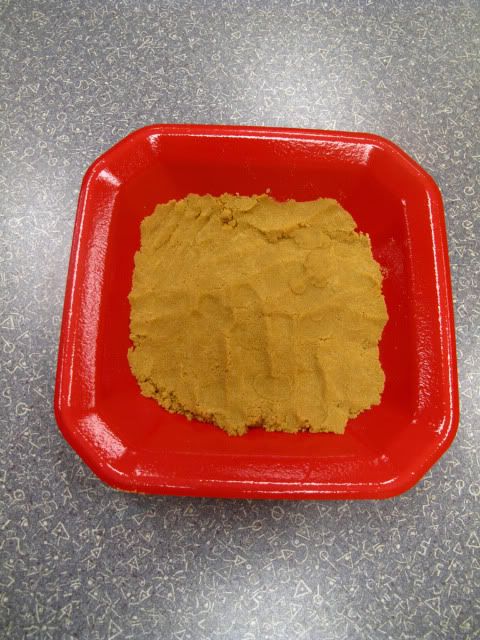
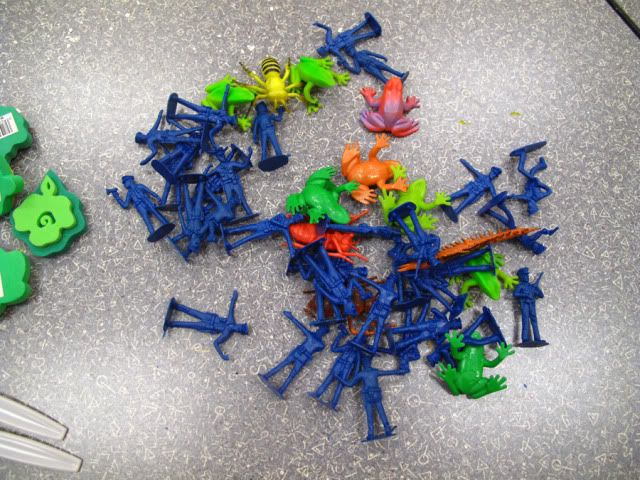
I told the children to smooth the sand with their hands and choose objects that they wanted to mold. I had a variety of items; little plastic bugs and army men, pony beads, shells etc. You gently push the item into the sand and remove it.
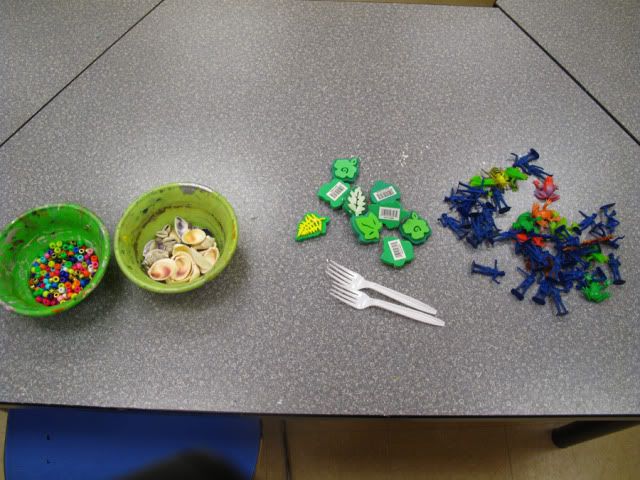
Then I mixed the plaster and poured it over the sand tapping the dish lightly to remove any air bubbles. NOTE: NEVER PUT PLASTER INTO A SINK.
I have several portions of plaster measured out so all I need to do is add water and have the kids start mixing.
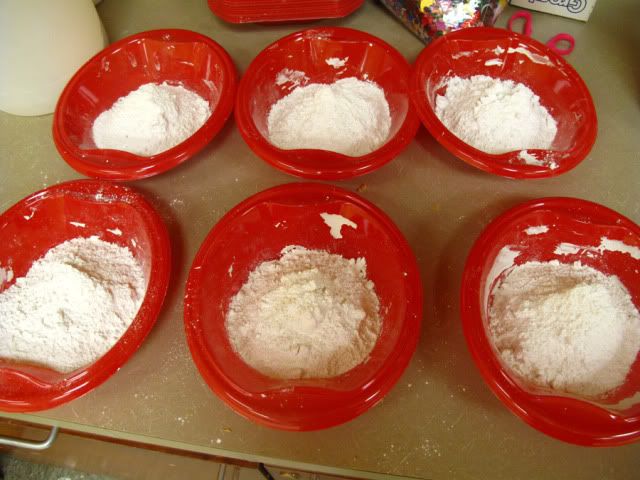
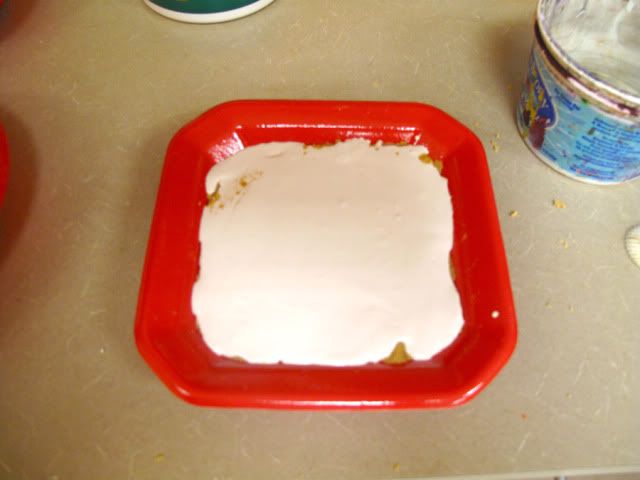
The molds need to sit for 30 minutes!
What do we do for 30 minutes?
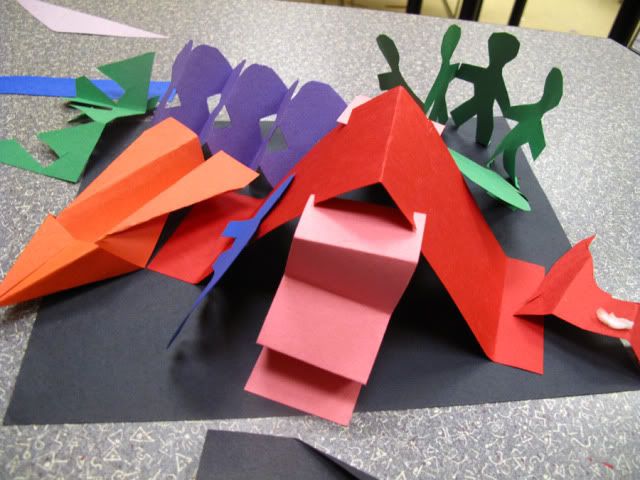
Make more sculptures! We talked about 3-D sculptures and used scrap paper to create them.
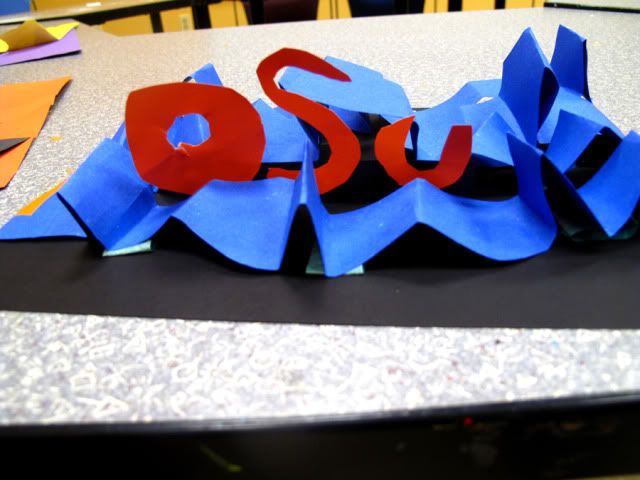
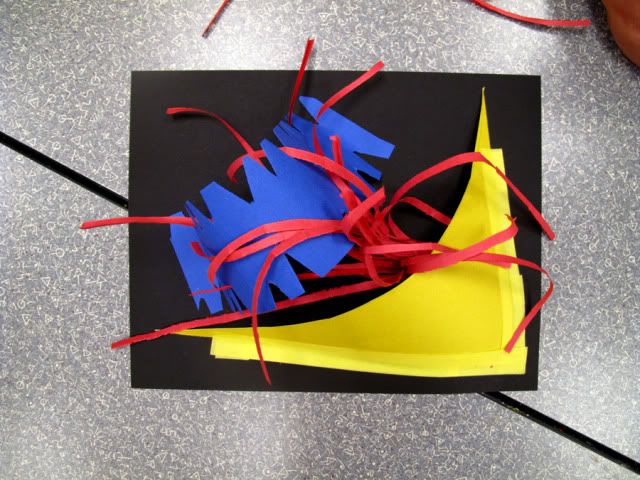
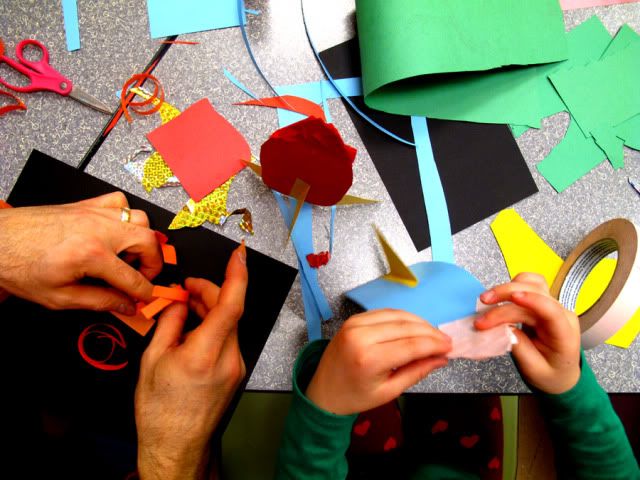
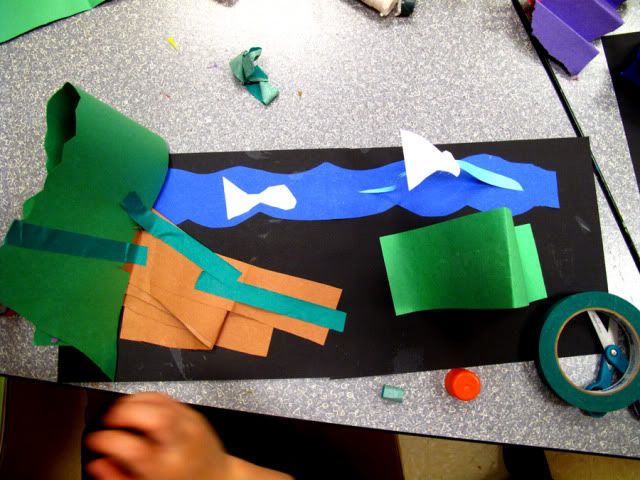
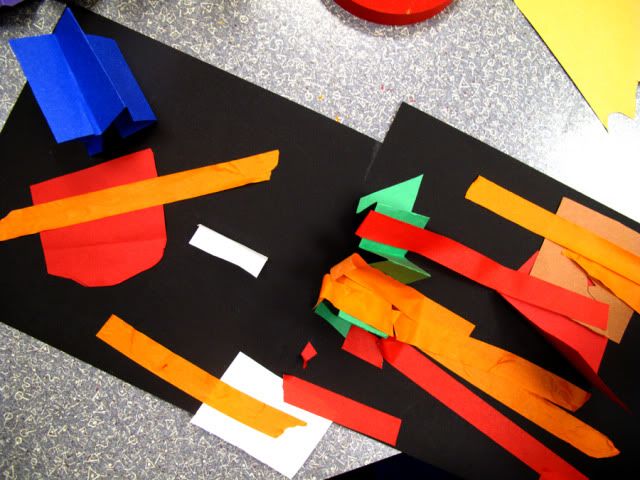
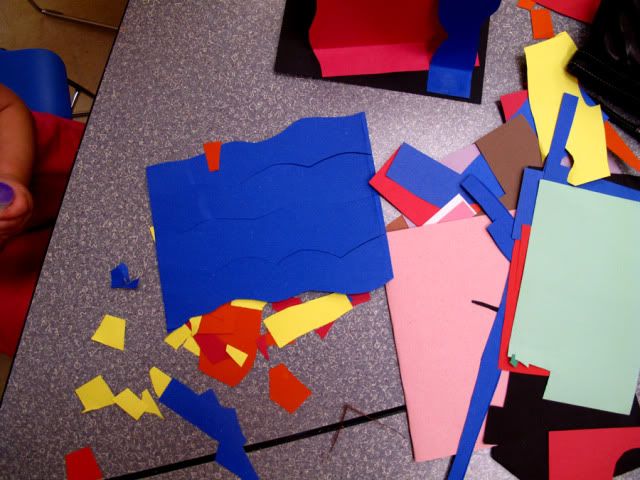
30 minutes is up! Let's check on our sand castings.
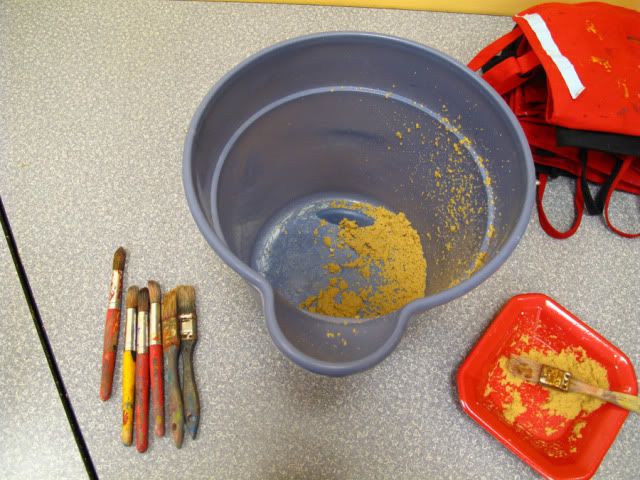
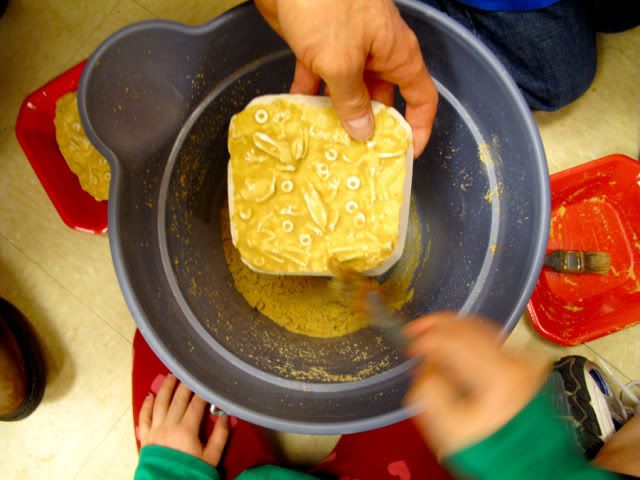
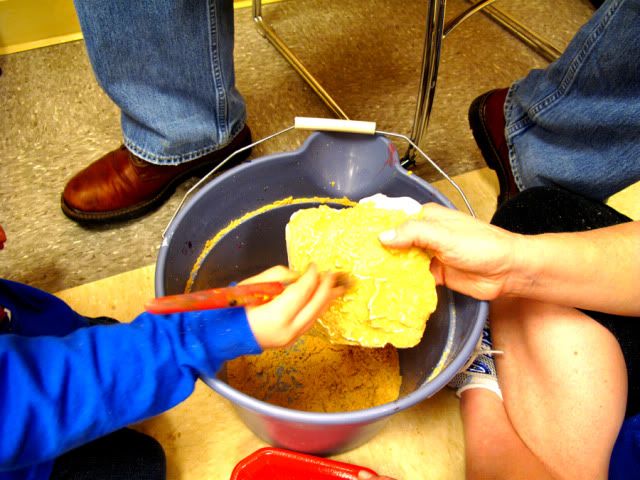
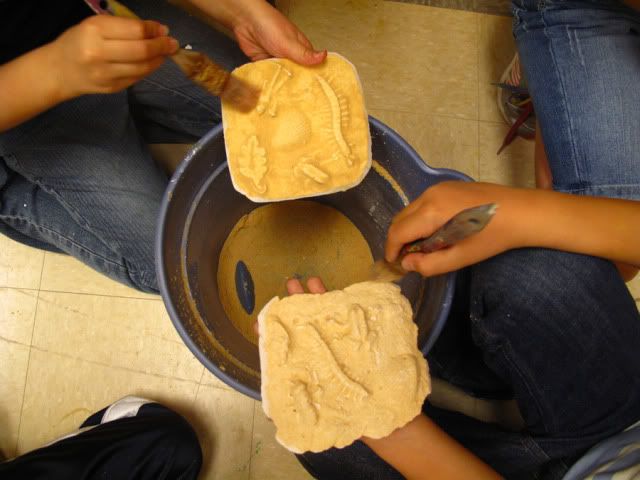
They are ready! Gently unmold over a bucket or box, whatever you have on hand. You can re-use the sand. Use your hands and then a paint brush to lightly brush away the sand away revealing the items you pressed in the sand. The kids were amazed!
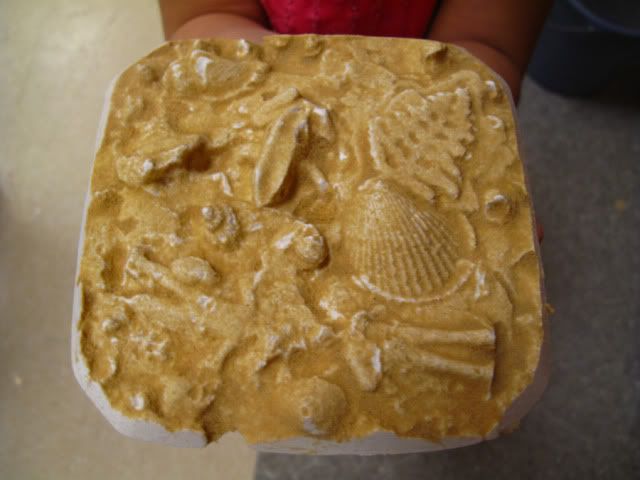
For sand casting you will need:
-damp sand
-deep plate
-plaster of paris, water and mixing bowls and disposable spoon
-items to mold
For paper sculptures you will need:
-paper
-scissors
-glue sticks
-color tape optional


2 comments:
What a Great tutorial ---And love how you showed what the kids did while they waited!
Thanks for the valuable information that you had provided in this article. If some one has interest to read more information, they can visit Sand CAsting Process
Post a Comment